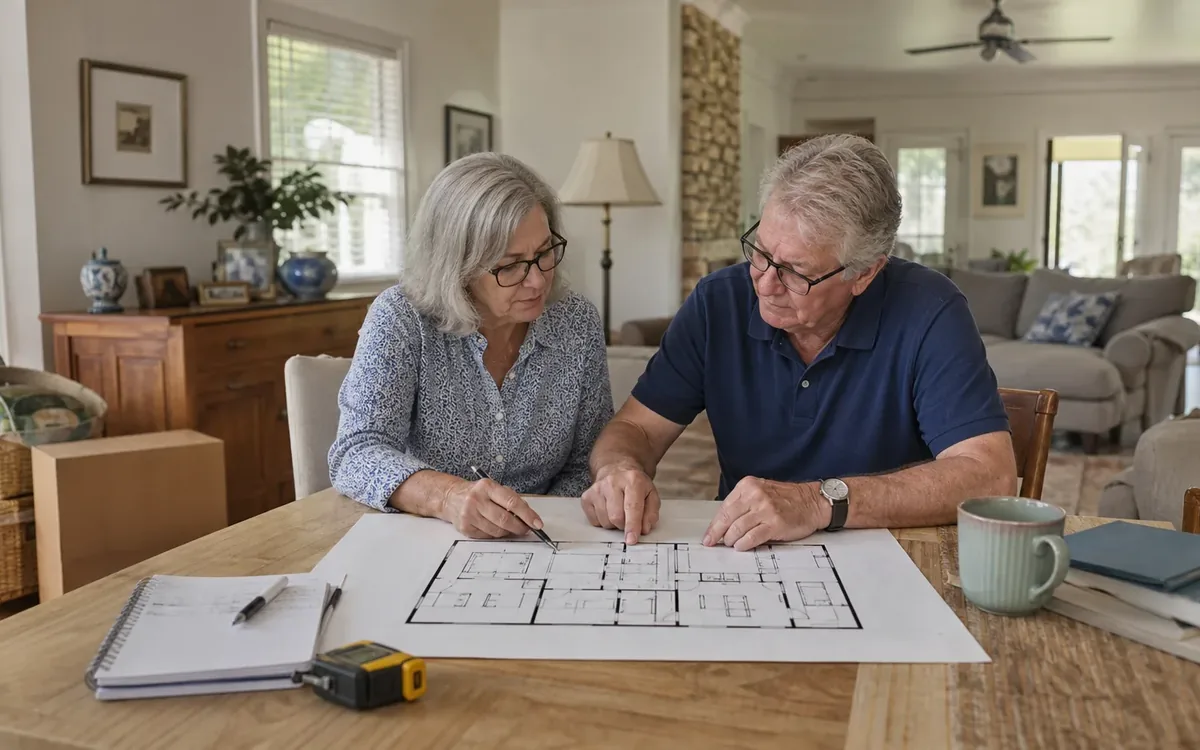
Creating a floor plan before downsizing lets you determine what will physically fit in the new home before moving day. Measure each room and obstruction, draw the usable footprint to scale, then place scaled furniture templates while preserving doors, walkways, and access. This fit test gives your household a practical basis for deciding what to move without turning the process into a debate about what to sell.
Quick answer: Get reliable dimensions for the new home, record doors and fixed features, and draw each room at a consistent scale. Measure every furniture item you may move. Add scaled furniture outlines to the plan, starting with essential pieces, and check door swings, walking paths, delivery routes, and daily use. Mark uncertain measurements for on-site verification rather than assuming they are correct.
Why make a floor plan before deciding what moves?
Downsizing decisions often begin with individual belongings: Which sofa should stay? Can both dressers go? Is there room for a dining table? A floor plan reverses that process. It defines the available space first, so each item can be tested against a real limit.
That matters because advertised square footage does not tell you how much usable floor area a room provides. Windows, doors, fireplaces, radiators, built-ins, low ceilings, floor vents, and traffic routes can eliminate otherwise open space. Two rooms with similar dimensions may function very differently.
A fit-tested plan can help a household:
- Catch oversized furniture before loading day
- Compare alternate arrangements without moving heavy objects
- Identify rooms that need smaller or fewer pieces
- Protect access to closets, windows, and exits
- Communicate placement instructions to helpers or movers
- Separate firm decisions from measurements that still need verification
The plan is a decision tool, not a construction drawing or guarantee. A household can choose preferred layouts and belongings. Questions involving structural alterations, code requirements, permitted occupancy, accessibility standards, or building rules belong with the relevant property manager, inspector, contractor, design professional, attorney, or public authority.
For broader support with sorting and planning, see Clutter Cleaner of South Carolina’s downsizing and organizing service. If the transition also involves an inherited or estate property, the guide on how to arrange furniture in a small home explains the larger cleanout sequence.

What information do you need from the new home?
Start with the best available source. An architectural plan or builder plan may be useful, but verify whether its dimensions describe interior surfaces, exterior walls, or approximate room sizes. A real-estate listing diagram can provide orientation, yet it should not automatically be treated as precise.
Ask for or collect:
- Interior wall-to-wall dimensions for every relevant room
- Ceiling height, especially around slopes or soffits
- Door width, height, location, and swing direction
- Hallway widths and tight turns
- Stair width, landings, railings, and overhead clearance
- Elevator door and cab dimensions, if applicable
- Window locations and sill heights
- Closets, built-ins, fireplaces, columns, and fixed cabinets
- Floor vents, returns, radiators, and utility panels
- Appliance locations and hookups
- Balconies, patios, or screened areas intended for furniture
If you cannot enter the new home, label listing measurements as provisional. Request clarification from the owner, property manager, real-estate professional, or other authorized source. Do not infer a critical doorway width from a listing photograph.
South Carolina homes vary widely in age, layout, and access. The same measuring process works in the Charleston area and statewide, but property-specific conditions must be checked rather than assumed.
How do you measure a room accurately?
Use a tape measure or laser measure, pencil, graph paper, and a phone or camera for reference photos when you have permission. A second person can help keep a tape straight and confirm numbers.
Measure systematically:
- Sketch the room’s general shape.
- Measure each wall from finished surface to finished surface.
- Record alcoves, bump-outs, and angled walls separately.
- Locate each door by measuring from a corner to the trim.
- Note the door width and direction of swing.
- Measure windows and their height above the floor.
- Add all fixed obstacles and mechanical features.
- Recheck the longest dimensions before leaving.
For an irregular room, divide the footprint into rectangles and triangles. Record every segment instead of simplifying the room into one large rectangle. A shallow bay, angled fireplace, or projecting cabinet can change whether a sofa or table fits.
Use consistent notation. For example, write 10 ft 4 in rather than switching among decimals, inches, and rough estimates. Include trim when it affects fit. Measure between the actual surfaces furniture must clear.
Photograph each wall straight on, then take one wider image showing how the walls connect. Photos help interpret measurements later, but they should supplement written dimensions, not replace them.
How do you draw a floor plan to scale?
Graph paper is often enough. Choose a scale that fits the entire room on the page while leaving space for notes. One convenient option is one square per six inches. Another is one-quarter inch on paper per one foot in the room.
Write the chosen scale prominently on every sheet. Mixing scales is a common source of false fit results.
To build the drawing:
- Draw the wall outline first.
- Add doors, including their swing arcs.
- Mark windows and sill heights.
- Shade built-ins and other immovable features.
- Mark vents, radiators, outlets, and panels that must remain accessible.
- Label the room and its dimensions.
- Add a north arrow or another orientation marker if useful.
- Note every dimension that remains unverified.
Digital floor-planning software can make revisions easier, but it is not required. If using an app, confirm its units and check whether dimensions refer to the inside or outside of walls. Automatic room scanning can be convenient, but important measurements should still be verified manually.
Keep a clean master copy before testing layouts. Print or duplicate several working copies so different arrangements can be explored without erasing the underlying footprint.
How should furniture be measured for a fit test?
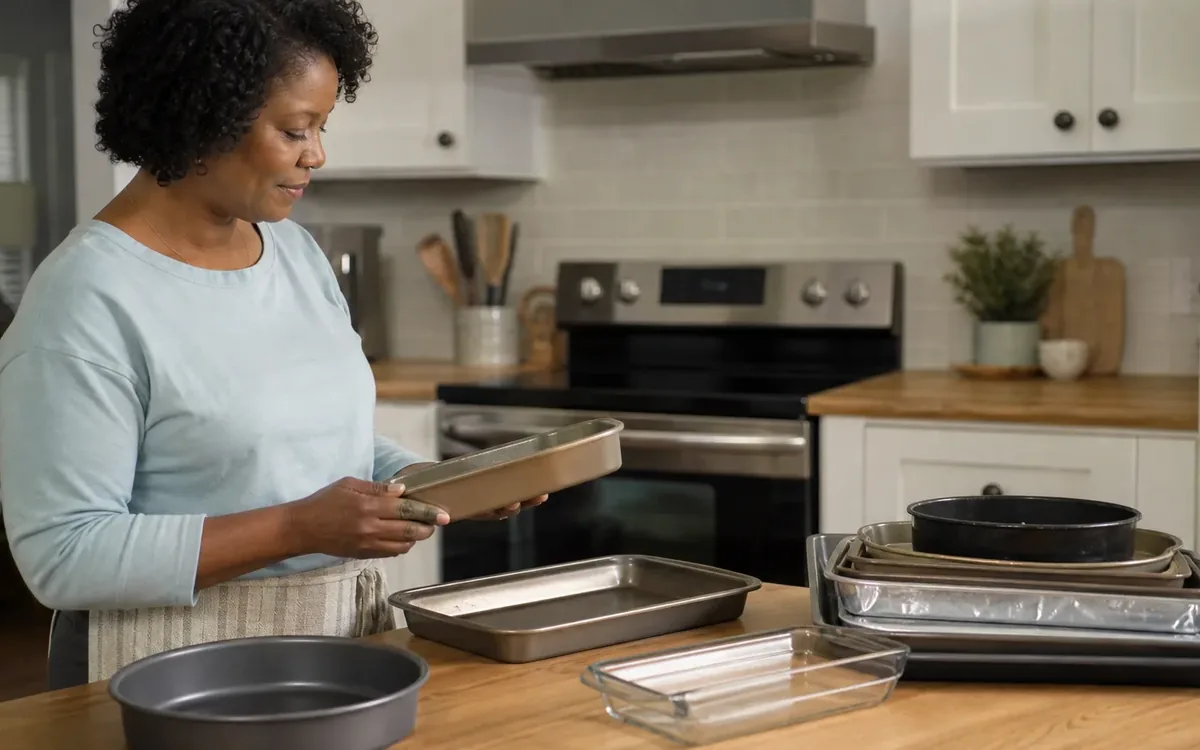
Measure the item’s maximum width, depth, and height. Do not rely only on a product label or an old receipt. Handles, arms, feet, trim, and overhanging tops may create the true maximum dimension.
For each candidate item, record:
- A short identifying name
- Width, depth, and height
- Whether legs, shelves, doors, or tops detach
- Space needed to open drawers or cabinet doors
- Required clearance for reclining or extending
- Orientation limits, such as a sectional’s left or right return
- Any fragile or projecting component
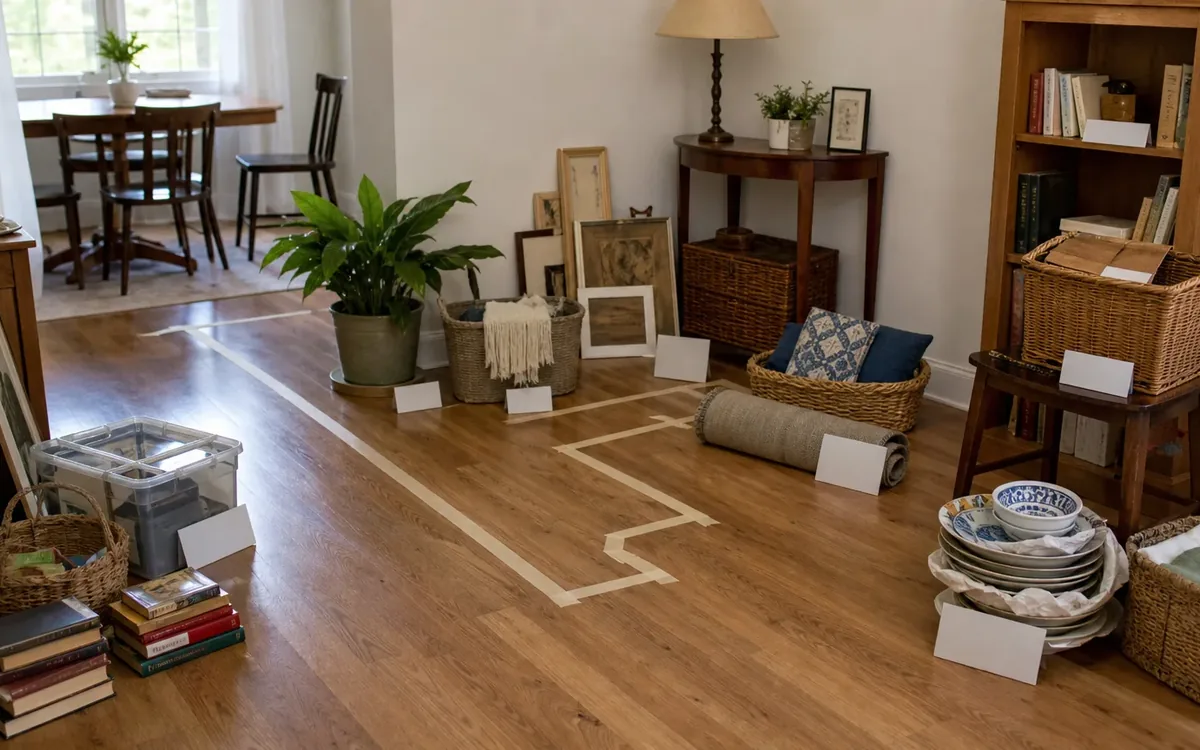
Then make a paper template at the same scale as the room plan. Label it clearly and include an arrow showing the front. Removable templates allow you to test several layouts quickly.
A rectangular outline is adequate for many pieces, but use the real footprint for L-shaped sectionals, round tables, corner desks, recliners, and pieces with unusual bases. For a drop-leaf or extension table, create both closed and open templates.
Measure functional space too. A dresser may fit against a wall but fail in daily use if its drawers strike the bed. A dining table needs room for chairs to pull out. A sleeper sofa needs clearance in both positions.
Will the furniture fit through the delivery route?
Room fit and delivery fit are separate tests. A large item can look perfect on the plan but remain impossible to carry through a doorway, stair turn, elevator, or narrow hall.
Trace the complete route from the vehicle unloading point to the intended room. Check:
- Exterior gates and entry doors
- Porch steps and landings
- Vestibules and tight interior turns
- Hallway width at the narrowest point
- Stair width, pitch, railings, and ceiling clearance
- Elevator doors, interior dimensions, and weight rules
- Door hardware or closers that reduce clearance
- The final turn into the room
Furniture can sometimes be angled, stood upright, or partially disassembled, but do not assume a maneuver will work. Record the item’s diagonal measurements and removable parts, then discuss uncertain access with the mover or responsible delivery professional.
Building management may control elevator reservations, loading areas, protective coverings, move hours, certificates, and access procedures. The household can ask for written requirements. The property manager or association determines and interprets its own rules, while movers determine how they will safely handle a particular item.
Build the layout around function, not empty walls
Start placement with the room’s purpose and the household’s daily activities. Empty wall space is not automatically usable wall space.
Place essential items first, such as:
- The primary bed and required bedside access
- Seating used every day
- A dining surface if meals will be eaten there
- A desk needed for work or household administration
- Storage required for clothing, medicine, or mobility equipment
Next, draw practical circulation paths. Connect the room entrance to windows, closets, adjoining rooms, seating, and frequently used storage. Avoid plans that require someone to squeeze behind chairs or move furniture to reach a closet.
Also test everyday actions. Can the bed be made? Can a chair pull away from the table? Can a cabinet door open fully? Is there a place to set down groceries near the kitchen? Can cleaning tools reach around and under major pieces?
Accessibility needs should be treated as requirements, not preferences. The household can identify mobility devices, transfer needs, and preferred clearances. A qualified occupational therapist, accessibility professional, contractor, inspector, or other appropriate specialist should evaluate formal accessibility, modification, safety, or compliance questions.
Use three layout categories to force clear decisions
A useful fit test does more than show one attractive layout. Create three categories for each room:
Confirmed fit
The item fits the usable footprint, works with doors and drawers, preserves circulation, and has a plausible delivery route. The underlying measurements have been verified.
Conditional fit
The item may fit only if a dimension is confirmed, a component is removed, an orientation changes, or another piece does not move. Write the condition directly on the plan.
Examples include:
- Fits if the legs are removed for delivery
- Fits only on the window wall
- Requires elevator-cab verification
- Works with the table closed, not extended
- Depends on confirming fireplace projection
No fit
The item exceeds the usable footprint, blocks required access, conflicts with another essential piece, or cannot follow the known delivery route.
This method keeps uncertainty visible. It also prevents a hopeful arrangement from being treated as settled. Resolve conditional items before packing whenever possible.
What can the household and transition team each decide?
The household decides how it wants to live in the new space. That includes preferred rooms, essential furniture, sentimental priorities, acceptable walking space, guest needs, and which layout feels comfortable.
A practical cleanout or move team may discuss:
- How room dimensions affect the quantity of furniture moving
- Whether a proposed layout appears crowded
- Which measurements should be verified
- How to label furniture by destination room
- The likely sequence for clearing and packing spaces
- Items that may require mover review or disassembly
- Ways to organize working copies of the plan
The team can use the completed plan as an operational tool. It may help group belongings by room, prevent unnecessary loading, and clarify where items are intended to go.
Other decisions remain with the appropriate party:
- Movers determine handling methods and whether they can safely transport an item.
- Appraisers determine value opinions.
- Real-estate professionals address listing and transaction matters within their roles.
- Inspectors evaluate property conditions within the scope of their inspections.
- Contractors and design professionals evaluate structural or technical modifications.
- Property managers and associations interpret building procedures and restrictions.
- Government authorities determine code, permit, occupancy, and compliance requirements.
- Attorneys advise on ownership, authorization, contracts, estates, and legal rights.
A floor plan does not establish ownership or grant permission to move, discard, alter, or remove anything. When authority is unclear, resolve it with the responsible legal or property professional before work proceeds.
Turn the final plan into moving instructions
Once measurements and placements are confirmed, prepare one clean final plan for each room. Give every destination room a short, unmistakable name, such as Main Bedroom, Study, or Front Guest Room.
Assign the same room name or color to:
- The room plan
- The room entrance
- Furniture tags
- Boxes intended for that room
- Any inventory or move list
Number similar items. Two tags marked Bedroom Dresser can create confusion, while Main Bedroom Dresser 1 and Guest Room Dresser 2 are specific.
Create a separate exception list for pieces that need disassembly, special handling, placement before other furniture, or final route confirmation. Keep current plans accessible rather than packing them.
Before the move, review the layout one final time and ask:
- Are all critical dimensions verified?
- Do furniture templates use the same scale as the room?
- Are doors, drawers, vents, and closets usable?
- Is the delivery route plausible?
- Are conditional items clearly identified?
- Does every moving item have a destination?
The result should be a working map, not a decorative sketch. Its purpose is to reduce uncertainty and give the downsizing process a physical boundary.
Short FAQ
Should a floor plan include every small item?
No. Begin with furniture and other pieces that consume meaningful floor or wall space. Lamps, baskets, and small decor can be considered later unless they require a specific outlet, surface, or clearance.
Can listing photos replace an on-site measurement?
No. Photos can clarify orientation, but perspective distortion makes them unreliable for exact fit decisions. Treat unverified dimensions as provisional.
How much walking space should be left around furniture?
There is no single number suitable for every household or property. Base the layout on actual users, mobility needs, door operation, and room function. Ask an appropriate professional about accessibility, safety, or compliance requirements.
What if the new home is not available to measure yet?
Build a provisional plan from authorized documents, mark every uncertain dimension, and avoid finalizing borderline pieces. Verify critical measurements as soon as access is available.
Should wall art and shelving be included?
Include large art, freestanding shelves, mirrors, and wall-mounted items when they compete for limited wall space. Before mounting anything, confirm lease, association, property, utility, and installation requirements with the responsible party.
Is a digital plan better than graph paper?
Either can work. Accuracy, consistent scale, and verified measurements matter more than the format. Graph paper is simple and portable, while digital plans make alternate layouts easier to save and compare.