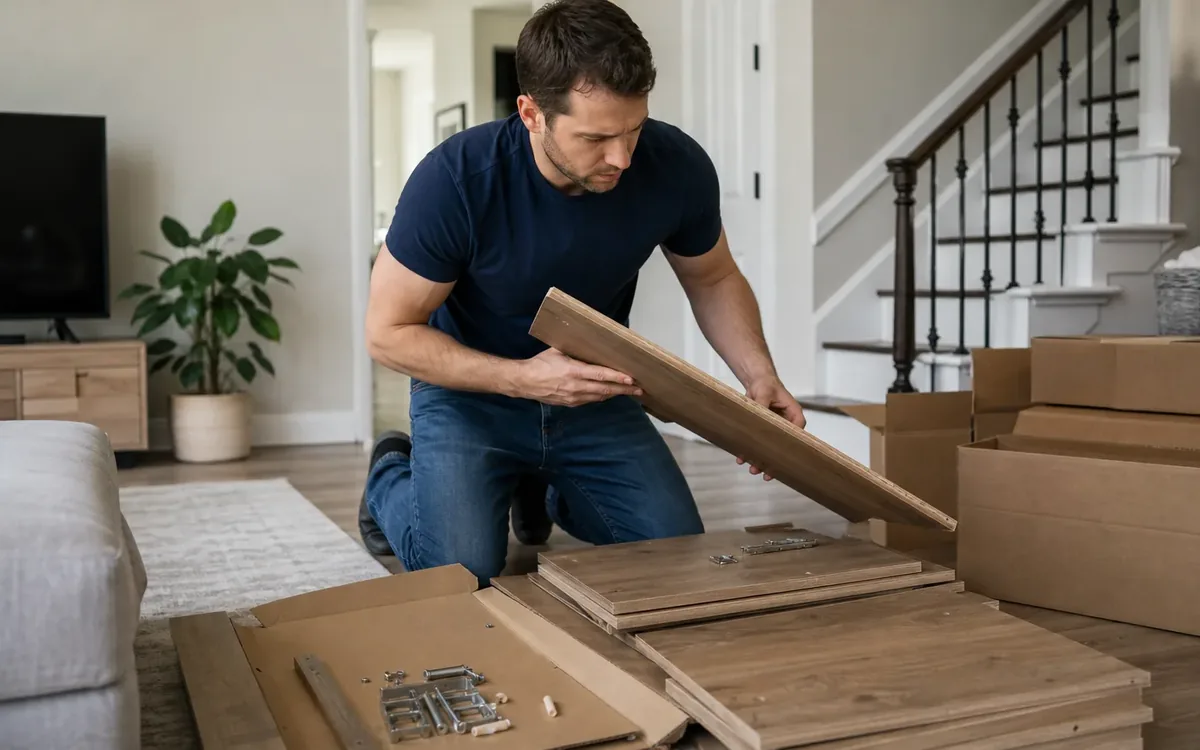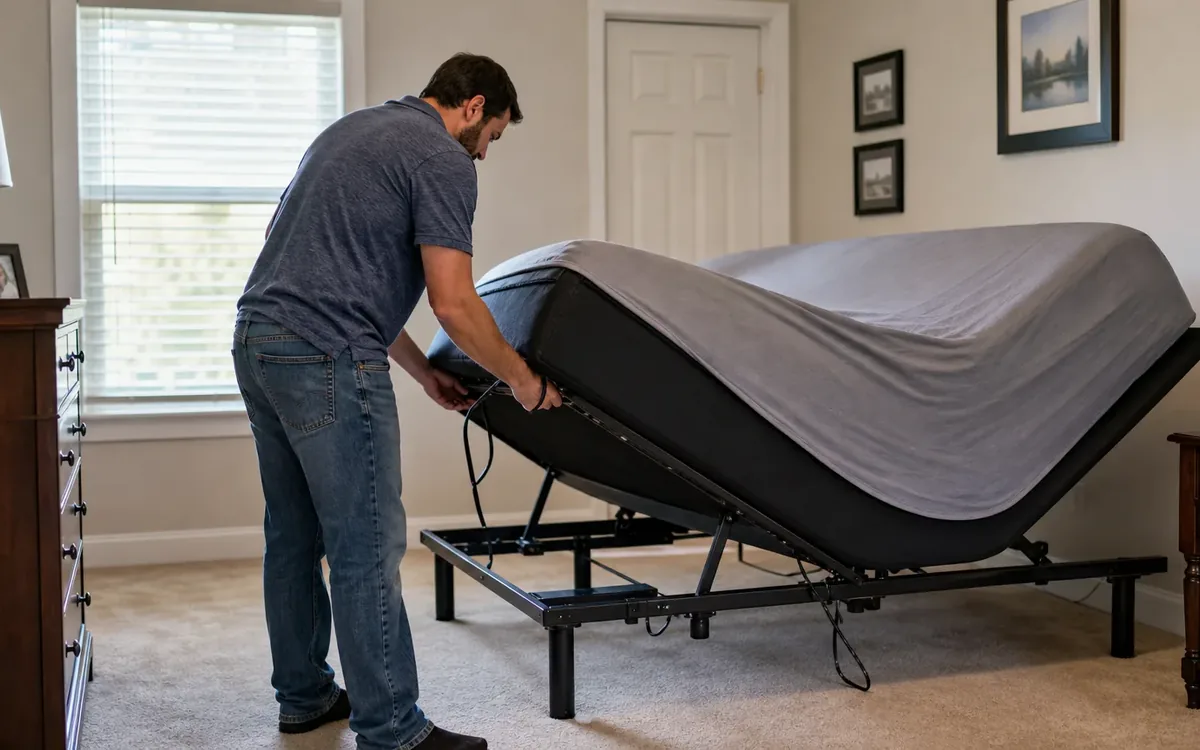
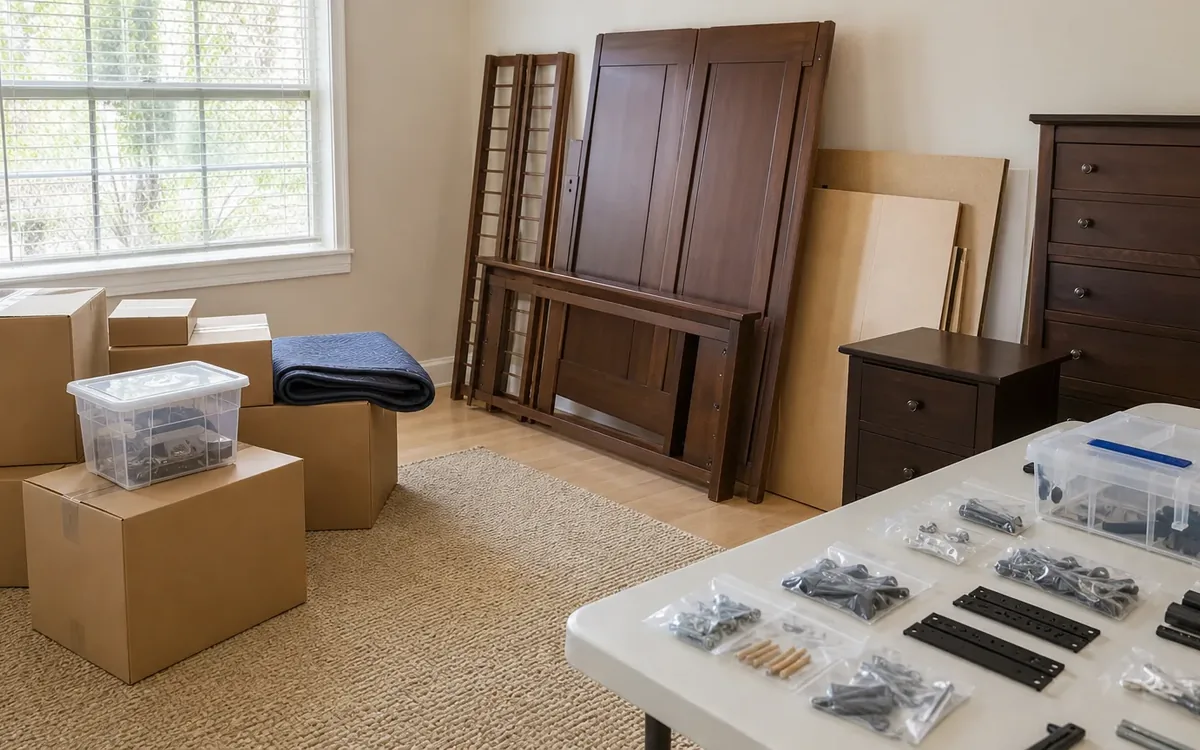
The simplest way to organize furniture hardware during a move is to place every piece’s screws, brackets, and small parts in its own labeled, sealed bag, then collect those bags in one clearly marked hardware box that stays accessible. Photograph each item before disassembly, label its larger components, and record where its hardware bag is stored. This method helps prevent a bed frame, desk, or shelving unit from arriving without the parts needed to rebuild it.
Quick answer: Use one bag per furniture item, not one bag per room. Give the item and its hardware bag the same unique label, such as “Primary Bed A.” Put all sealed bags, instructions, specialty tools, and an inventory sheet in a dedicated hardware box. Keep that box with the household’s essential moving materials rather than inside a disassembled dresser or an unidentified carton.
South Carolina moves may involve narrow doorways, stairs, elevators, or room layouts that make furniture disassembly practical. A consistent bag-and-box system keeps the process manageable without requiring anyone to remember which silver bolt came from which frame.
Why does furniture hardware get lost during a move?
Hardware often goes missing because disassembly happens in stages. One person may remove a headboard while another wraps the rails. A screw may be placed on a windowsill, in a pocket, or loosely inside a drawer. By packing time, no one knows where it belongs.
Common failure points include:
- Combining hardware from several furniture pieces in one bag
- Using vague labels such as “bed parts” when several beds are moving
- Taping loose screws directly to finished wood
- Leaving shelf pins, wall brackets, or connector plates in place
- Packing required tools in a box that will not be opened promptly
- Storing hardware inside a drawer that may shift or be removed
- Forgetting to distinguish original furniture hardware from wall anchors
- Failing to photograph adjustable rails or brackets before taking them apart
The challenge is not simply keeping small pieces in a container. Each piece must remain connected to the correct furniture item and be easy to locate when that item is ready for assembly.
A household coordinating disassembly with packing, sorting, and room planning can review move management support throughout South Carolina. The household should still decide what furniture is moving, what may be disassembled, and who is responsible for reassembly.
What supplies create a reliable hardware system?
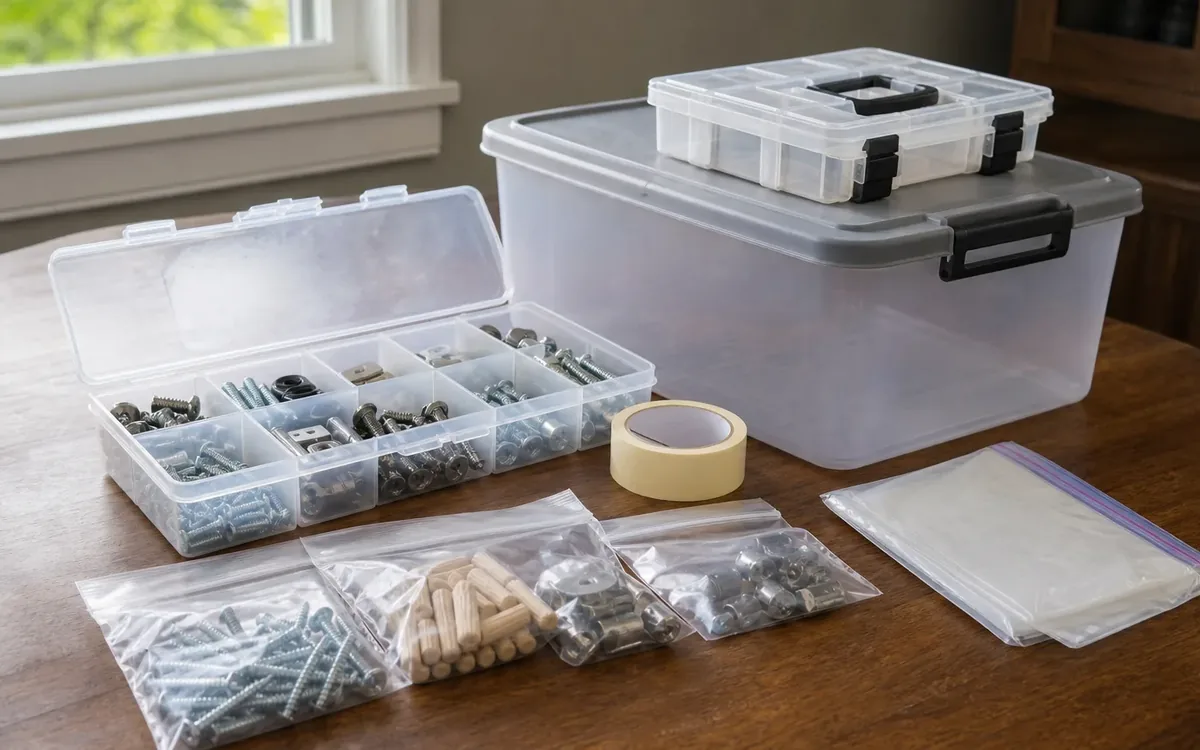
Choose supplies that make parts visible, labels readable, and bags difficult to open accidentally. A practical kit can include:
- Clear zip-top bags in several sizes
- Painter’s tape or removable labels
- Permanent markers
- Small rigid containers for fragile specialty parts
- A lidded box or handled bin for all hardware bags
- Index cards or a printed inventory sheet
- Colored stickers for room identification
- Cable ties or hook-and-loop straps
- A phone or camera for reference photographs
- Basic hand tools used during disassembly
Avoid thin, open sandwich bags when parts have sharp edges. Bolts can puncture them. If a bracket could bend or a glass-door hinge could be damaged, place it in a small rigid container before adding it to the central hardware box.
A divided organizer may work for active disassembly, but it should not replace individually sealed and labeled bags. Compartments can open or parts can migrate if the organizer tips.
Use removable labels on finished surfaces. Adhesive behavior varies by finish, condition, temperature, and time, so test labels in an inconspicuous area. Do not write directly on furniture.
How should each furniture item be labeled?
Create a unique identifier that follows the furniture, its parts, and its hardware. A good identifier includes the destination room, item name, and a letter or number.
Examples include:
- “Primary Bedroom, Bed A”
- “Office, Desk B”
- “Living Room, Bookcase 1”
- “Guest Room, Wardrobe C”
Use that exact identifier in four places:
- On the main furniture piece
- On every detached large component
- On the sealed hardware bag
- On the hardware inventory
The wording must remain identical. If a bag says “Guest bed” but the rails say “Bedroom 3 bed,” someone may treat them as separate items.
Color can supplement the written label. For example, all office pieces might receive one sticker color. Do not rely on color alone because similar shades can be confused, stickers can detach, and not everyone reads color distinctions the same way.
For furniture with several similar components, add orientation labels such as:
- Left rail and right rail
- Top shelf and bottom shelf
- Front stretcher and rear stretcher
- Upper-left bracket and lower-right bracket
These details are especially helpful when components fit in more than one position but align correctly in only one arrangement.
Build the labeled bag and box system
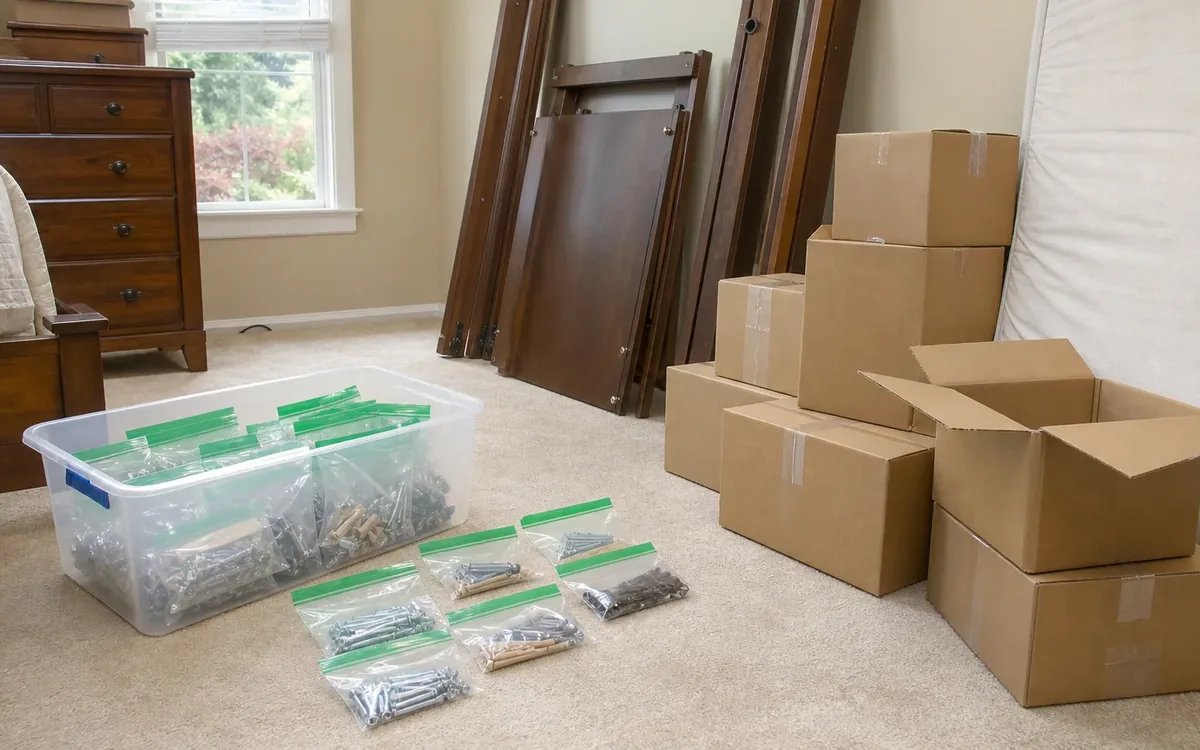
The central hardware box is the control point for the move. It should contain hardware, instructions, and records, not unrelated household items.
Use this six-step process:
- Assign the identifier before touching a tool. Label the furniture and create its empty hardware bag first. This prevents the first removed screw from becoming an unidentified loose part.
- Photograph the assembled item. Capture the whole piece, connection points, bracket direction, cord routing, and unusual spacing. Take close-ups before each complicated joint is separated.
- Bag parts as they come off. Put bolts, screws, washers, pins, caps, and small brackets directly into the assigned bag. Do not create a temporary pile.
- Add a note inside the bag. Write the item identifier and any useful assembly detail on paper. An internal note remains readable if the exterior label rubs off.
- Seal and inventory the bag. Record that the bag exists and note any specialty tool or separate component required.
- Place it in the hardware box. Do not leave the bag on the floor, tape it to upholstery, or hide it in the furniture.
If a move is part of a larger household transition, sorting decisions can overlap with cleanout work. The guide to how estate cleanouts work explains the broader sorting and removal process without treating moving hardware as discard material.
Photograph connections, not just the finished furniture
A single picture of an assembled bed or desk rarely shows how it goes back together. Create a short visual sequence that answers practical assembly questions.
Useful photographs include:
- The complete item from the front and back
- The underside of a tabletop or bed frame
- The direction and order of washers and spacers
- Bracket orientation before removal
- Adjustable rail positions
- Shelf-pin height and shelf order
- Cable paths through a desk or entertainment unit
- Labels beside the connection they describe
- Manufacturer markings or model labels
Include the item identifier in the first photograph. A labeled index card placed beside the furniture works well. This helps separate similar image sets later.
Do not photograph sensitive documents, computer screens, keys, or access codes in the background. Store the images somewhere the person responsible for assembly can reach at the destination. The household controls who receives those images and whether they contain personal information.
Keep different types of parts separate
Not every small item found near furniture belongs in the same bag. Separate parts by purpose so that ownership and installation responsibility remain clear.
Furniture hardware includes original bolts, cam locks, shelf pins, feet, knobs, and manufacturer-supplied brackets. These normally stay with the furniture identifier.
Wall attachment materials include anchors, screws, anti-tip hardware, and mounting plates connected to the building. Label these separately. Old anchors may not be appropriate for a new wall type or location.
Electronics and cable parts include power adapters, remote controls, cable clips, and mounting components. Put these in a separate labeled bag so they are not mistaken for structural furniture hardware.
Loose household hardware includes unrelated nails, picture hooks, curtain parts, and miscellaneous fasteners. Do not add these to a furniture bag simply because they were found in the same room.
Whether wall anchors can be reused, whether anti-tip hardware is required, and which fastener suits a particular wall are not moving decisions. A qualified installer, contractor, manufacturer, property representative, or applicable authority should determine appropriate installation and compliance.
Handle instructions, tools, and unusual components
Original instructions can save time, but they are easy to separate from the corresponding item. Place paper instructions in a document sleeve labeled with the furniture identifier. If instructions are digital, record the manufacturer and model information on the inventory.
Specialty tools need equally clear handling. Some flat-pack furniture uses a particular hex key, wrench, or connector tool. Put the tool in the item’s bag if it is small and safe to do so. If one tool serves several items, list it separately on the hardware-box inventory.
Protect unusual parts according to their form:
- Wrap long connector rods so threads are not damaged.
- Place fragile knobs or decorative fittings in a padded rigid container.
- Keep matched keys with the appropriate cabinet or desk identifier.
- Bundle slats together and label the bundle.
- Mark adjustable feet by item if several furniture pieces use similar feet.
- Keep doors and drawers identified if they are removed for safer handling.
For modular shelving, mark the sequence of upright sections and shelves. A quick diagram showing the original arrangement can be more useful than a general photograph.
What should stay with the household on moving day?
The hardware box should remain accessible to the person coordinating setup. It should not disappear into general storage or become buried beneath furniture.
A practical “open for setup” group may contain:
- The central hardware box
- The current inventory sheet
- Assembly instructions
- Reference photos or access to them
- Basic approved tools
- Furniture pads or surface protection needed during setup
- Keys for cabinets and desks
- Remote controls and labeled power components
The household decides who carries these items, who may access them, and where they will be placed at the new home. If a mover or practical move team is involved, ask how clearly designated setup materials should be handled. Do not assume that disassembly, assembly, installation, storage, or tool use is included in a provider’s role.
If furniture will enter storage, confirm that the hardware box can be retrieved independently. The storage provider controls its own access rules and facility requirements. The household chooses whether hardware stays with the furniture, remains personally accessible, or is documented in another way.
Coordinate responsibilities before disassembly
A household can decide:
- Which furniture will move, remain, be sold, be donated, or be discarded
- Which pieces may be taken apart
- The labeling convention and destination rooms
- Who will maintain the hardware inventory
- Who receives photographs and instructions
- Whether personal or specialty tools travel separately
A practical cleanout or move team may discuss:
- The order in which rooms and furniture will be addressed
- How labels can align with the move plan
- Where sorted hardware bags should be collected
- Which furniture appears to need separate handling discussions
- How destination-room labels fit the household’s placement plan
Other decisions belong with the relevant professional or authority. An appraiser determines value. A real-estate professional advises on listing and presentation strategy. A qualified contractor or installer addresses structural mounting, repairs, and appropriate fasteners. An inspector or responsible authority interprets applicable property or compliance requirements. Disposal facilities and local programs determine what they accept. Legal questions involving ownership, estates, leases, or authority to remove property belong with the appropriate attorney, fiduciary, court, property owner, or other responsible party.
Keeping these roles separate prevents an organizational method from being mistaken for installation, valuation, legal, or compliance advice.
Perform a hardware check before departure
Before a room is cleared, compare the hardware inventory with the furniture labels. Look in locations where small parts commonly remain:
- Along baseboards and beneath rugs
- Inside drawers and cabinets
- Under the furniture’s original position
- On windowsills, shelves, and counters
- In toolboxes and helpers’ pockets
- Inside packing paper or furniture blankets
- Near doorways where wrapping occurred
Then check that each disassembled item has a corresponding bag entry. If a part is missing, note it honestly rather than adding an unidentified replacement. Guessing can damage threads, finishes, or joints.
At the destination, open one furniture bag at a time. Keep removed wrapping and empty bags nearby until assembly is complete. If the furniture appears damaged, unstable, incomplete, or dependent on wall attachment, pause and consult the appropriate manufacturer, installer, contractor, or other responsible professional.
Short FAQ
Should hardware bags be taped to furniture?
A central box is generally easier to track and protects finished surfaces from adhesive. If a bag must accompany a component, secure it without placing adhesive directly on finished wood, fabric, leather, or another vulnerable surface. Keep the bag’s location recorded.
Can all screws from one room go in the same bag?
No. Use one labeled bag for each furniture item. Similar screws can differ in length, thread, finish, or intended connection even when they look interchangeable.
What if the original instructions are missing?
Record the manufacturer and model information if available, and take detailed connection photographs before disassembly. The manufacturer or a qualified assembler may be able to provide item-specific guidance. Do not improvise structural connections if the correct assembly is uncertain.
Who decides whether furniture should be disassembled?
The household or person authorized to control the property makes that decision, informed by access conditions and input from the mover, manufacturer, or qualified assembler. Building management may control elevator, doorway, and access requirements.
Where should unidentified hardware go?
Place it in a separate bag labeled with the room and exact discovery location. Do not add it to a known furniture bag unless its purpose is confirmed.
What is the best rule to remember?
Label before removing the first screw. Every part should move directly from the furniture into its assigned bag, and every bag should move directly into the dedicated hardware box.