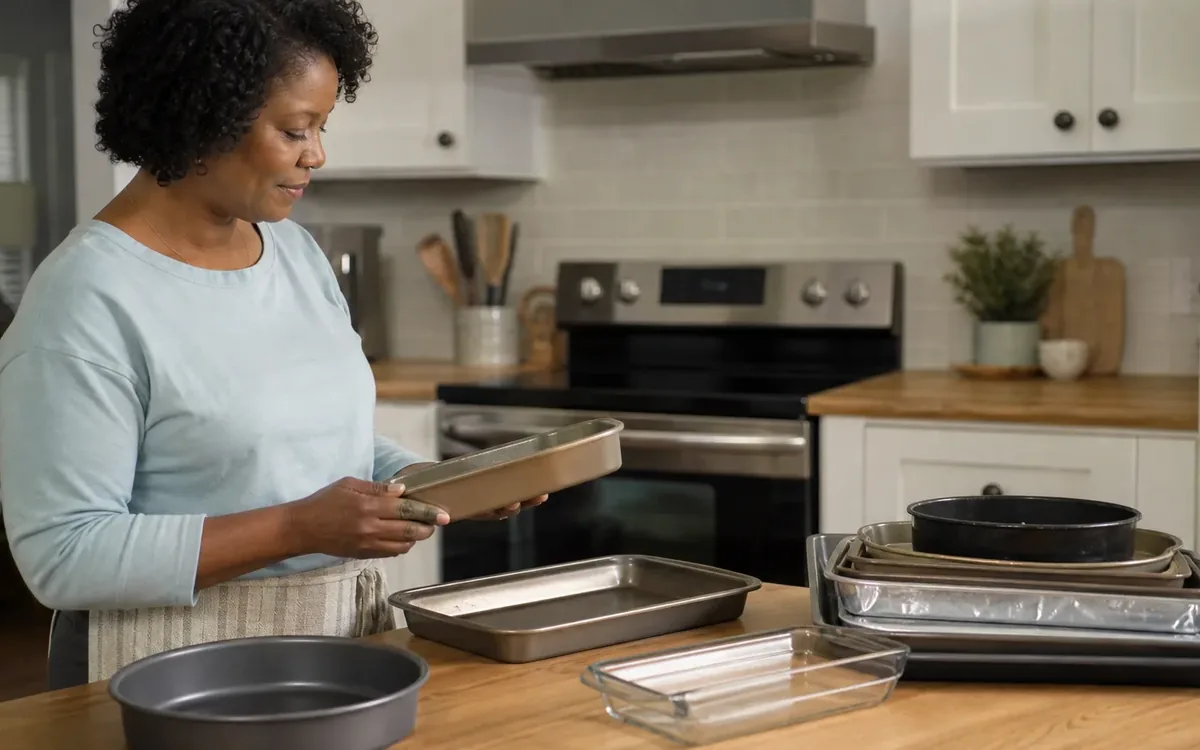
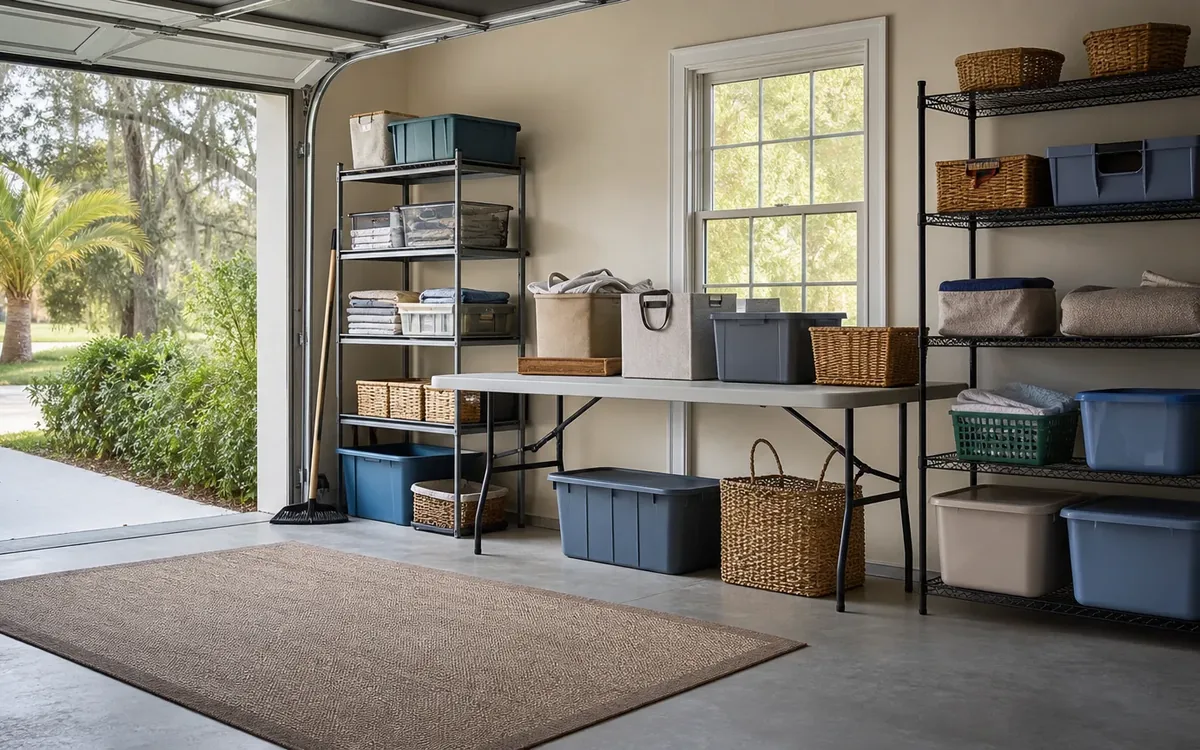
To organize a donation staging area without creating clutter, give approved donations a defined footprint, group them by confirmed recipient, and connect every group to a realistic exit plan. For South Carolina households, the important first step is verifying what the recipient will accept before packing for drop-off or arranged pickup. This guide starts after the household has decided what to donate.
Quick answer: Use one safe staging zone, label each container with its recipient and destination, and keep uncertain items out of ready-to-go groups. Stop adding donations when the space reaches its limit. Confirm transport and acceptance details before moving items out of the home.
What should you confirm before staging donations?
A donation decision is not the same as recipient approval. A household may be ready to give away a sofa, books, or kitchenware, but the intended organization may have condition standards, category restrictions, or limited receiving space.
Check the recipient’s current instructions directly. Do not assume an older website note, a neighbor’s experience, or a previous successful donation still applies. Ask about the actual items you intend to send, particularly anything bulky, fragile, incomplete, or difficult to unload.
Useful questions include:
- Are these item categories currently accepted?
- What condition, cleaning, or packaging requirements apply?
- Must furniture be assembled, or should parts be bundled?
- Is drop-off available, and where should vehicles unload?
- If pickup is offered, how is it arranged and confirmed?
- Are there access restrictions or items the recipient cannot move?
- What happens if an item is declined when it arrives?
Keep the answers with the donation group. A short note such as “kitchenware accepted, pack breakables separately, household delivering” is more useful than a vague “donate” label.
For broader help coordinating the household’s belongings, see downsizing and organizing support. A practical organizing team may discuss grouping, labeling, and movement plans, while the recipient controls its own acceptance and collection requirements.

Choose a footprint, not an overflow room
The best staging area is a temporary transfer point, not a second storage room. Choose a clearly bounded space close enough to the departure route to avoid repeated handling, but outside the paths people need for daily life.
Possible locations include a designated section of a spare room or an accessible part of a garage, provided the conditions suit the items. Do not use stairs, doorways, narrow hallways, or spaces needed to reach utilities and safety equipment.
Check the location for:
- A stable, dry surface.
- Enough light to read labels and inspect packages.
- A clear route to the exit.
- Protection from moisture, pests, and accidental damage.
- Separation from household items that are staying.
- Access that does not require lifting over other belongings.
Mark the boundary with an existing shelf, a floor marker that will not damage the surface, or a simple written sign. Avoid buying a new storage system for goods that are supposed to leave.
Set a capacity rule based on the space itself. When containers begin blocking access or spreading beyond the boundary, the zone is full. Arrange the next departure or pause additions rather than opening another staging area elsewhere.
Separate ready donations from unresolved items
Use status labels so everyone can see what is ready to leave. A container marked only “donations” can conceal unanswered questions and encourage family members to add unrelated items.
Keep the system simple:
- Ready for named recipient: Acceptance requirements have been checked, packaging is complete, and transport responsibility is assigned.
- Awaiting recipient confirmation: The household has approved donation, but the recipient has not confirmed suitability.
- Not accepted: The proposed recipient declined the item, so another destination is needed.
Give unresolved items a smaller, separate holding space. They should never be mixed into a ready load, where they may cause unloading delays or force the household to bring goods back.
If family members disagree about ownership or permission to donate something, move it out of the donation workflow altogether. That is a household or legal decision, not a packaging problem.
For an estate, the guide to how estate cleanouts work offers broader context for organizing the process. Donation staging should follow the appropriate authorization to release belongings, not substitute for it.
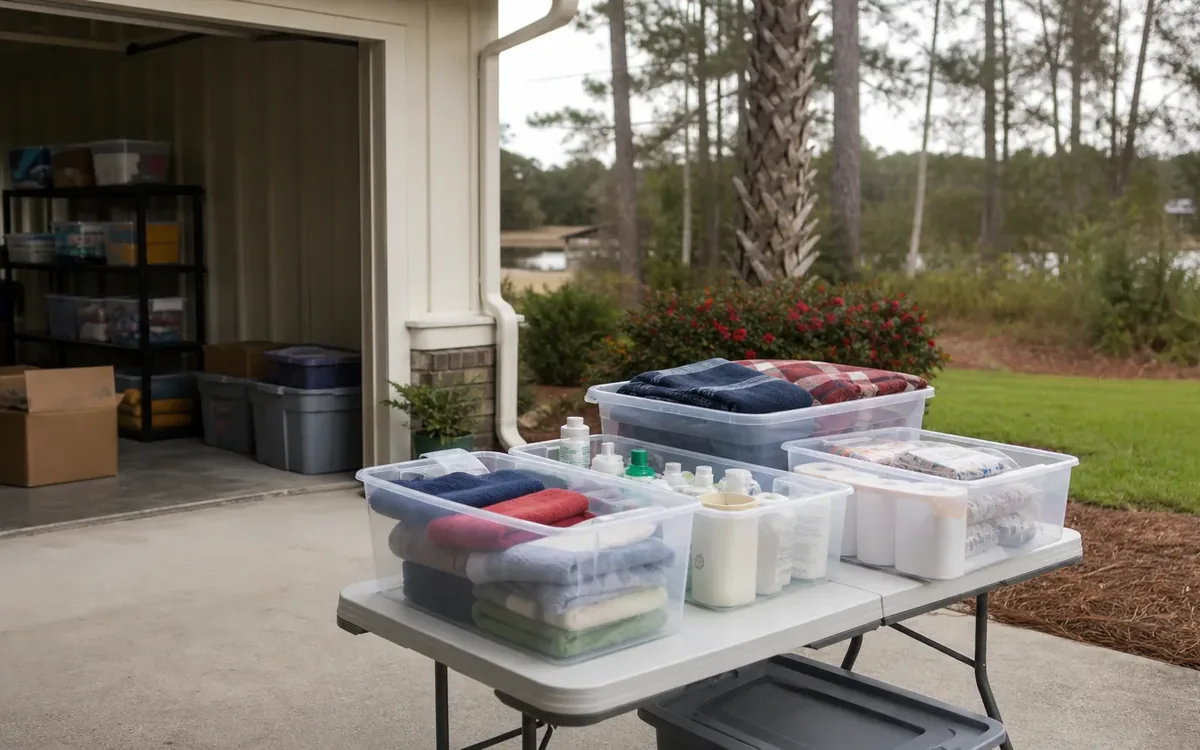
How should you label and pack donation groups?
Pack according to the recipient’s instructions and the handling needs of the items. Grouping by recipient usually works better than grouping only by room because each group can leave without another sorting session.
Use manageable containers in sound condition. Avoid overfilled boxes, torn bags, and lids that will not close. A package should be practical for the people who will carry it, not simply large enough to hold everything.
Place a readable label on a visible side. Include:
- Recipient name.
- Broad contents, such as linens or cookware.
- Transport method: household drop-off or confirmed arranged pickup.
- Handling notes, such as fragile or keep upright.
- The household contact responsible for the group.
Do not put sensitive personal information on outward-facing labels. If the household wants a detailed inventory, keep it separately rather than attaching it where anyone passing through can read it.
Wrap breakables and keep sharp edges protected. Bundle related components so a recipient receives a usable item rather than disconnected parts. Label bags of hardware and secure them to the corresponding furniture without damaging its finish.
Check pockets, drawers, and containers for personal papers before packing. For devices that may contain personal data, the household should arrange appropriate data removal before donation. Packing a device does not resolve privacy concerns.
Build an exit plan around each recipient
A staging area stays orderly when every ready group has a departure method and an accountable person. “We will donate it eventually” leaves too much unresolved.
Use a simple paper sheet or shared note with a row for each recipient. Record the approved categories, container count, transport contact, destination instructions, and any confirmation still needed.
Distinguish household drop-off from arranged pickup. Drop-off requires a suitable vehicle, someone able to load and unload safely, and a receiving location that accepts the goods. Pickup requires confirmation from the recipient or a separately arranged transport provider. Neither should be assumed.
For bulky items, discuss the route before departure:
- Can the item pass through the available doors?
- Are stairs, tight turns, or uneven surfaces involved?
- Does the receiving party need dimensions or photographs?
- Who is responsible for any permitted disassembly?
- Where should the item wait without blocking household access?
A practical cleanout or move team may discuss access, handling, labels, and coordination. Storage, contractor work, and specialized transport remain separate choices unless expressly agreed with the relevant provider. Do not treat a staging plan as a promise that a particular organization will collect everything.
Keep the staging area from becoming permanent storage
Make readiness visible and remove friction from departure. Put completed groups closest to the usable exit route, with unresolved groups clearly separated. Keep labels facing outward so nobody needs to reopen boxes to identify them.
Avoid stacking in ways that hide groups or make the bottom containers difficult to reach. Keep heavy items low and stacks stable. If a container cannot be accessed without dismantling the whole zone, the layout needs adjustment.
Use brief household checks tied to real activity, such as preparing a vehicle load or adding an approved group. During each check, ask whether anything has lost its exit plan, whether packaging has deteriorated, and whether the area remains within its boundary.
After goods leave, remove empty packing materials and update the tracking note. Do not refill the space automatically. Keeping the cleared footprint visible helps distinguish successful movement from endless accumulation.
If transport falls through, change the group’s status and resolve the obstacle. A pile should not remain labeled ready when nobody knows how it will leave.
What happens when a recipient declines an item?
Declined donations need a new decision, not a hidden corner. Keep them separate from accepted goods and record the reason when available. That information can prevent another unsuccessful trip.
The household can choose to contact another recipient, keep the item, pursue a sale through a separate arrangement, or investigate appropriate recycling or disposal. Those are different destinations with different requirements.
Do not leave unwanted goods outside a closed donation location or assume that a recipient will dispose of rejected items. Confirm receiving instructions and retain responsibility for goods that are not accepted.
For damaged furniture, electronics, chemicals, or other restricted materials, check with the appropriate local program or disposal provider. Requirements can vary by material and jurisdiction. A donation staging area is not a place to mix potentially hazardous materials with clothing, books, or household goods.
If an item may have significant value, the household can seek an independent appraisal before release. The appraiser determines valuation within the scope of that engagement. A cleanout or move team should not be treated as the authority on charitable tax value.
Assign responsibilities without blurring professional roles
The household decides which authorized belongings may leave, which recipient to approach, who will handle communications, and whether a rejected item gets another destination. In an estate or shared-ownership situation, the person with appropriate authority must approve release.
A practical organizing, cleanout, or move team may discuss the physical workflow: grouping, container placement, access routes, handling concerns, and coordination with other participants. Confirm the actual scope before relying on any provider to pack, transport, store, or dispose of goods.
Keep specialist decisions separate:
- Legal authority and ownership questions belong with the responsible representative and legal adviser as appropriate.
- Appraisals belong with the engaged appraisal professional.
- Real-estate preparation decisions belong with the household and its real-estate professional.
- Inspection and compliance requirements belong with the responsible inspector, qualified professional, or authority.
- Storage, repairs, recycling, and disposal require their own household or provider arrangements.
Clutter Cleaner of South Carolina is physically based in Mount Pleasant, with Charleston as its primary market and a statewide service territory. Households can discuss downsizing and organizing or move management needs at (843) 972-7020, while confirming the specific scope and any separate donation transport arrangements.
Short FAQ
Should every donation go into one large pile?
No. Use one bounded zone, but separate groups by recipient and readiness. One undifferentiated pile makes confirmed goods harder to remove.
Can donations wait on the porch?
Only if the location is safe, protected, and consistent with confirmed collection instructions. Do not expose goods to weather or obstruct entry while waiting for an unconfirmed pickup.
Do I need an inventory of every item?
Use enough detail to identify groups and resolve questions. Keep any records needed for estate administration or tax purposes according to guidance from the responsible professional, separate from basic staging labels.
What is the clearest sign that staging is working?
Ready groups leave without being sorted again, unresolved items remain identifiable, and the household keeps its everyday access. The goal is movement out of the home, not a perfectly arranged collection that never departs.