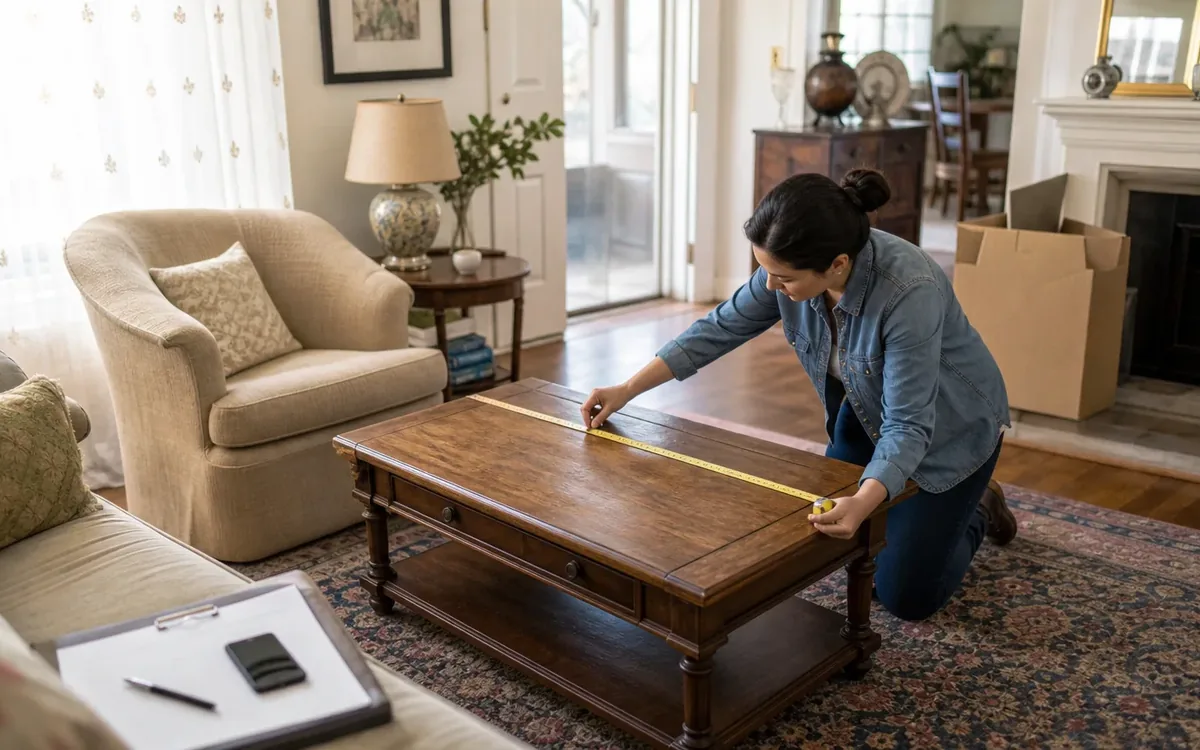
Photograph furniture measurements by placing a tape measure straight across each relevant dimension, keeping both endpoints visible, and taking one wide context photo plus one close-up of the readable number. Record width, depth, and height in the same order for every item. Add doorway or clearance measurements only when they will help buyers plan removal.
Quick answer: For each piece, photograph the full item, its width, depth, and height, the measurement at the tape’s endpoint, and any feature that changes its usable size. Pair those images with written dimensions labeled W × D × H. Keep condition, measurements, and removal access separate so buyers can understand each one.
Why do measurement photographs matter in an estate sale listing?
Estate sale buyers often need to decide whether furniture fits their room, vehicle, doorway, or intended use before they visit or bid. Written dimensions help, but photographs show how the measurements were taken.
A clear measurement image can answer questions that a bare number cannot:
- Does the stated width include projecting trim or handles?
- Was a table measured with or without its leaves?
- Does the height include a removable mirror?
- Is the depth taken at the top, base, or deepest curve?
- Are separate sections included in the overall size?
Measurement photographs also make the listing easier for the estate-sale company, auctioneer, family representative, and buyer to review. They do not guarantee fit or replace a buyer’s own verification. Their purpose is to document the method and give buyers useful planning information.
If the household is still deciding how saleable items fit into a broader property project, review what is the best way to clean out an estate. That guide helps separate items intended for sale from donations, family distributions, disposal, and unresolved property.
What should you prepare before taking photographs?
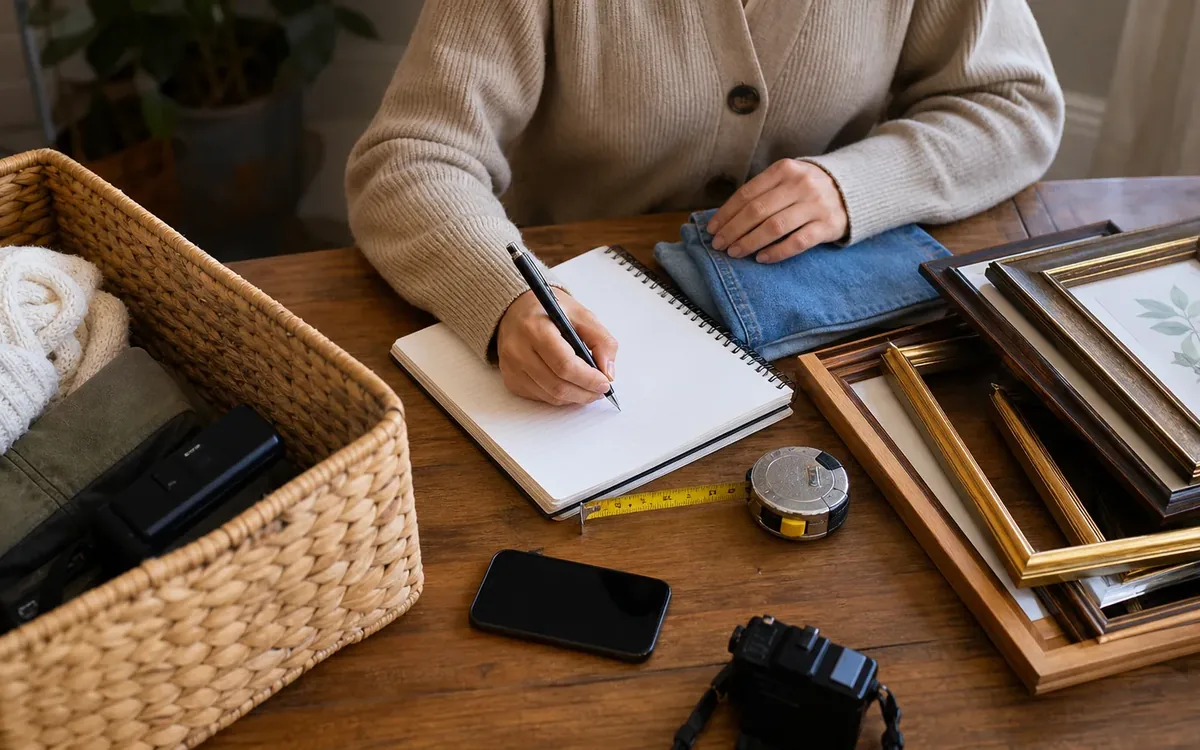
Prepare the furniture and recording system before extending the tape. This keeps dimensions consistent and reduces missing or mismatched images.
Gather:
- A rigid tape measure with large, readable markings
- Painter’s tape or removable labels
- A notepad, spreadsheet, or inventory app
- A pencil or marker for inventory labels
- A phone or camera with a clean lens
- A flashlight for dark interiors or undersides
- A straightedge or carpenter’s square for rounded pieces
- A second person for long, tall, or awkward measurements
Assign every item a short inventory identifier, such as DR-01 for a dining-room table. Place that identifier near the item without covering a detail. Use it in the photo sequence, written notes, and draft listing.
Clear unrelated objects from the frame. Open curtains or turn on room lights, but avoid glare that obscures the tape. Move only items that can be handled safely and that the authorized household representative permits you to move.
Do not lift heavy furniture alone merely to improve a photograph. If the back or underside cannot be reached safely, state that the area was not inspected rather than guessing.
For a coordinated sale process, the household can ask an auctions and estate sales service what listing format, photo orientation, and inventory identifiers it prefers before photography begins.
Which furniture dimensions should the listing show?
Use a consistent W × D × H order: width from side to side, depth from front to back, and height from floor to the highest fixed point. Label the order in the listing instead of assuming readers know it.
Photograph these three core dimensions:
- Width: Measure the widest point, including arms, trim, overhangs, or other fixed projections.
- Depth: Measure the deepest front-to-back point, not merely the top surface.
- Height: Measure from the floor to the highest fixed point while the item sits normally.
Some pieces need supplemental dimensions because their shape or function is not explained by the core set. Useful additions include:
- Seat height and seat depth for chairs and sofas
- Clearance beneath a desk, table apron, or console
- Interior drawer dimensions when storage capacity is important
- Shelf spacing in a bookcase or cabinet
- Closed and fully extended dimensions for drop-leaf or expandable tables
- Mattress platform size for bed frames
- Overall height with a detachable mirror or hutch
- Diameter and height for round tables
- Individual module sizes for sectional furniture
Measure adjustable or movable parts in clearly identified positions. For example, list a table as “closed” and “with leaves installed.” Do not combine those numbers without explaining the configuration.
For irregular furniture, choose points that represent the maximum space the item occupies. A curved-front chest may be deeper at its center than at either side. A wingback chair may be widest above the arms. Photograph the exact points used.
How should the tape measure appear in each photo?
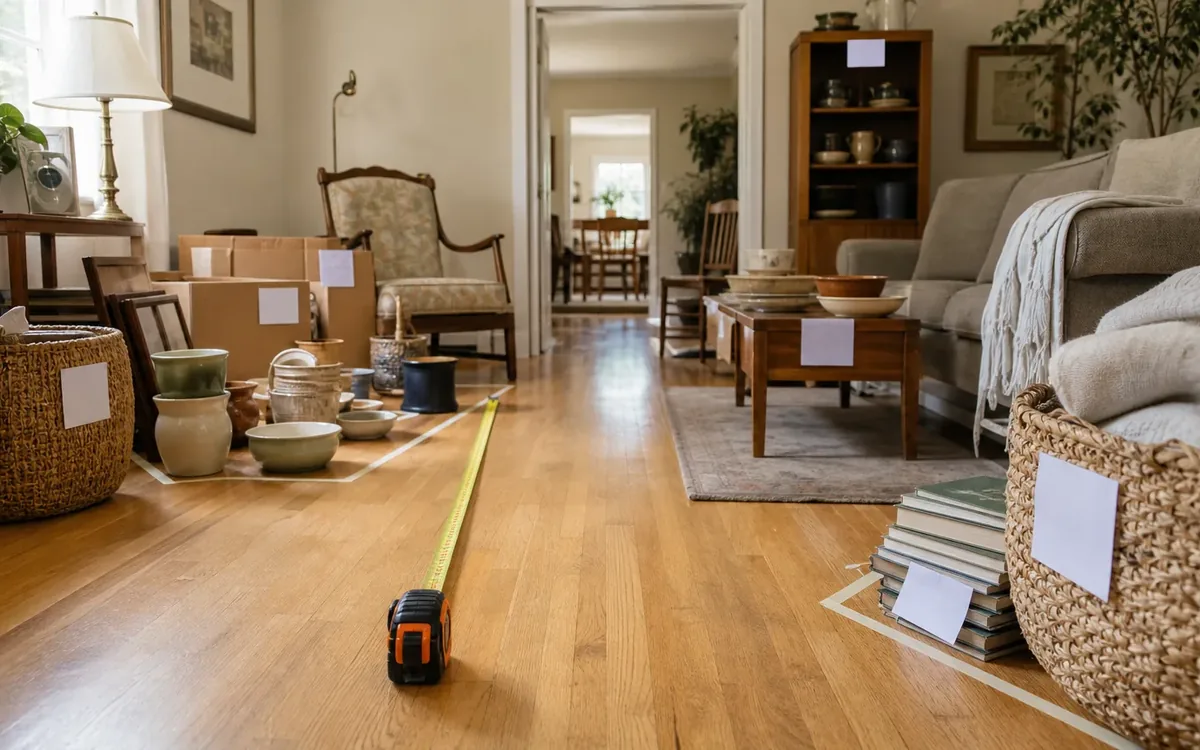
The tape should be straight, level, and aligned with the dimension being documented. A diagonal or sagging tape can make the number appear longer than the actual measurement.
Use this five-photo sequence for the main dimensions:
- Take a full-item image with the inventory identifier visible.
- Photograph the tape spanning the complete width.
- Photograph the tape spanning the complete depth.
- Photograph the tape running vertically for height.
- Take a close-up of any endpoint that was not readable in the wider image.
For width and depth, place the tape’s zero end at one outside edge and extend it to the opposite outside edge. Include both ends in the wide image when possible. Then capture a close-up in which the endpoint and measurement markings are sharp.
For height, keep the tape vertical and begin at the floor. If the item has a soft cushion, identify whether the listed height is to the compressed or uncompressed cushion. Do not press upholstery down unless the listing explains that method.
When a tape cannot rest securely against a curved edge, place a straightedge at the outermost point and measure to it. Photograph the straightedge so viewers can see why that endpoint was selected.
Avoid placing the camera at a steep angle to the tape. Photographing nearly perpendicular to the measurement reduces visual distortion. Tap the screen to focus on the number, and review the image at full size before moving on.
How do you photograph expandable, modular, or detachable furniture?
Furniture that changes shape needs configuration-specific photographs. Buyers should be able to tell what is attached, what is removable, and which dimensions belong to each setup.
For an expandable dining table, show:
- The complete table in its closed position
- Closed width or length
- Each included leaf
- The table with included leaves installed, if safe and authorized
- Expanded width or length
- The location and condition of the extension mechanism
For sectional seating, photograph the assembled footprint and each separate module. Note how modules connect, but do not claim that connectors work unless they have been checked by the appropriate seller or sale professional.
For a dresser with a mirror, china cabinet with a hutch, or bed with a canopy, distinguish the base dimensions from the assembled dimensions. Photograph attachment points and removable hardware. Keep hardware together, labeled for that item, if the authorized representative approves.
If assembly is uncertain, do not force components together for a photograph. A household may decide whether to seek help from a furniture mover, conservator, or other qualified provider. Repair, assembly, restoration, and transport are separate decisions from listing photography.
How should condition and scale appear without confusing the measurements?
Use separate images for dimensions, overall appearance, construction details, and condition. A measurement photo should not be expected to document every flaw.
A practical listing set can include:
- Front, side, and angled overall views
- Manufacturer labels, signatures, or marks
- Joinery and hardware
- Drawer and cabinet interiors
- Tops, legs, feet, backs, and undersides when accessible
- Scratches, chips, stains, tears, repairs, and missing pieces
- Measurement views for each relevant dimension
Use neutral, factual descriptions. “Scratch on right side panel” is more useful than “minor wear,” which can mean different things to different people. Include a nearby ruler or familiar reference only for the size of a defect, not as a substitute for overall furniture dimensions.
Do not identify age, wood species, maker, authenticity, or value from appearance alone. Those judgments may require an appraiser, auction professional, conservator, or subject specialist. A family can share known provenance, but the listing should distinguish documented information from family recollection.
Photographs can record visible condition, but they are not an inspection. Structural stability, pest activity, electrical safety, lead hazards, mold, and other technical concerns belong with an appropriate inspector, contractor, conservator, or authority.
What removal measurements will buyers need?
Furniture size and removal access are different records. An item can fit a buyer’s room yet be difficult to remove from its current location.
When relevant, document:
- The narrowest doorway on the expected route
- Hallway width at turns
- Stair width and overhead clearance
- Elevator door and interior dimensions
- Gate or exterior-door clearance
- Whether legs, mirrors, shelves, or other parts appear removable
- The floor or area where the item is located
Do not promise that furniture will pass through a route merely because the measurements appear compatible. Turning space, railings, trim, slope, weight, fragile components, and safe handling all affect removal.
The household can decide which route buyers may use and whether removal rules are necessary. An estate-sale or move team may discuss staging, pickup instructions, access notes, and coordination. A professional mover should determine handling methods for unusually heavy, delicate, or complex items.
Property access restrictions may also come from an owner, association, building manager, sale agreement, local authority, or other responsible party. Confirm those requirements with the party that controls them rather than presenting assumptions as listing terms.
Who decides what goes into the final listing?
The authorized seller or estate representative decides whether an item may be sold and what known information can be released. The estate-sale company or auctioneer may set catalog standards, revise descriptions, choose images, establish sale terms, and decide whether a lot is suitable for its platform.
A practical cleanout or move team may discuss:
- Inventory labels and room grouping
- Safe access for photography
- Separation of sale, keep, donate, and disposal categories
- Furniture placement for photographs or pickup
- Coordination among household representatives and outside providers
Those practical discussions do not settle title, ownership, beneficiary rights, value, authenticity, or legal authority to sell. Questions about an estate, trust, probate matter, disputed ownership, contracts, or taxes should go to the responsible attorney, personal representative, court, tax professional, or other authority.
Formal value opinions belong with a qualified appraiser or the sale professional working within that person’s role. Real-estate disclosures and transaction decisions belong with the seller and appropriate real-estate professionals. Repairs belong with the selected contractor. Disposal acceptance rules belong with the receiving facility or relevant authority.
Clutter Cleaner of South Carolina has a physical business location in Mount Pleasant and a statewide service territory. Whether a particular project, item, or sale format is appropriate should be discussed directly rather than assumed from this photography guide.
Build a listing packet that another person can verify
Keep each item’s photographs and notes together. A repeatable file name such as “DR-01-width-overall” is more reliable than a camera-generated number.
For every piece, record:
- Inventory identifier
- Plain-language item name
- Room or pickup location
- Width, depth, and height with units
- Supplemental dimensions
- Configuration shown
- Visible condition notes
- Included loose parts
- Areas not accessed or inspected
- Removal details that have been confirmed
Compare the written figures with the endpoint photos before publishing. Check that the unit is stated and that feet and inches have not been transposed. If a photograph is blurry, retake it rather than enlarging an unreadable image.
Keep family photographs, mail, prescription labels, financial papers, keys, and other personal information out of the frame. Check mirrors, glass doors, and polished surfaces for reflections that reveal people, documents, security equipment, or parts of the home that need not be shown.
A complete packet gives the sale professional better source material, but that professional may still remeasure, rewrite, combine items, or request additional photographs.
FAQ
Should measurements be exact or rounded?
Record the most accurate measurement the tool and access allow. If upholstery, curves, or inaccessible edges make the figure approximate, label it as approximate instead of implying precision.
Should every drawer and shelf be measured?
Not necessarily. Add interior measurements when capacity is important to the buyer or when the sale professional requests them. Core overall dimensions should remain easy to find.
Can a family estimate dimensions from a photograph?
A photograph without a documented scale is unreliable for listing dimensions. Measure the physical item whenever it is safe and authorized to do so.
Who should decide the furniture’s value?
The household may choose whether to seek an appraisal or work with an estate-sale or auction professional. Formal appraisal conclusions belong with a qualified appraiser, while pricing and sale strategy should be addressed by the responsible seller and selected sale professional.
What if the furniture cannot be moved for photography?
Photograph all safely accessible sides, disclose the limitation, and avoid guessing about hidden condition or dimensions. Ask the sale professional whether the available documentation is sufficient.
Should doorway measurements be included in the furniture dimensions?
No. List item dimensions and removal-route dimensions separately. This prevents a doorway number from being mistaken for part of the furniture description.