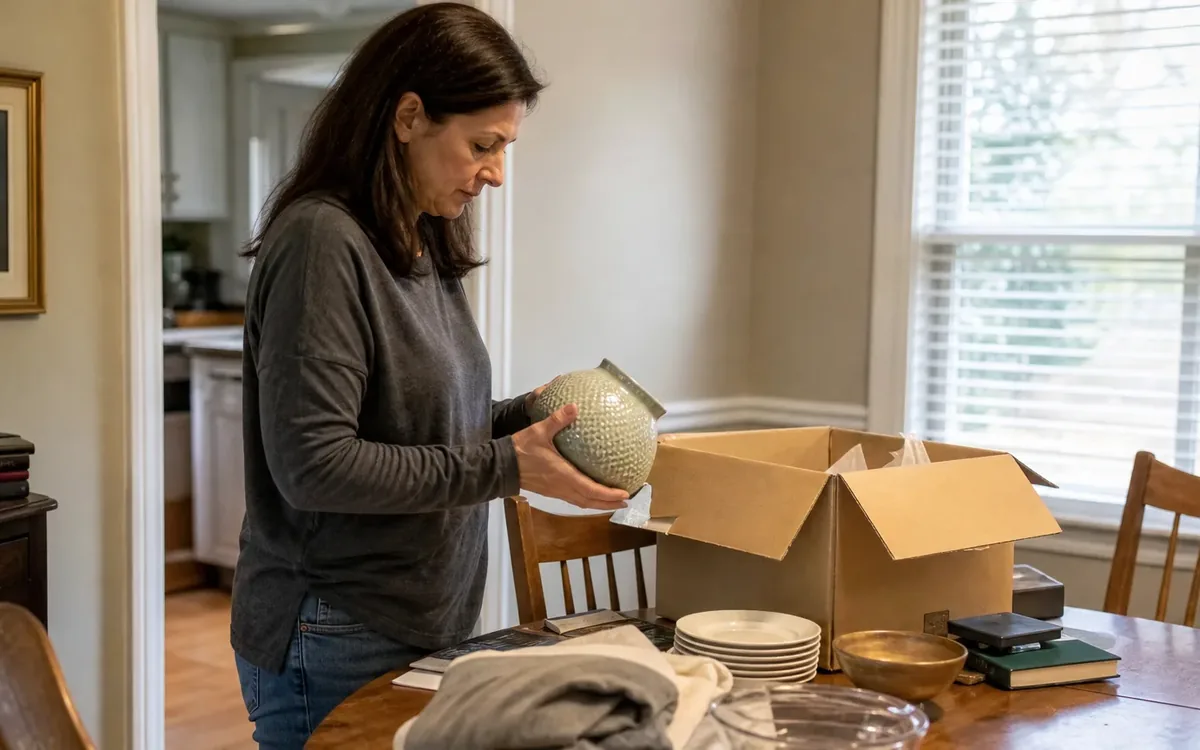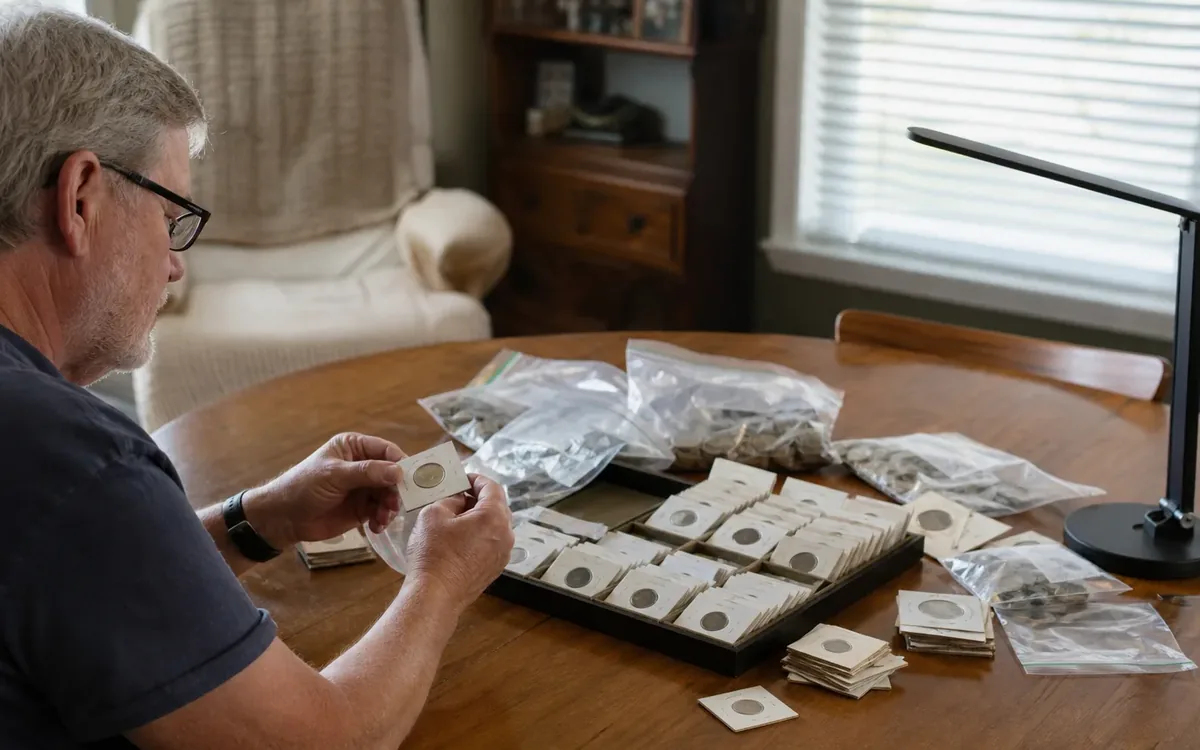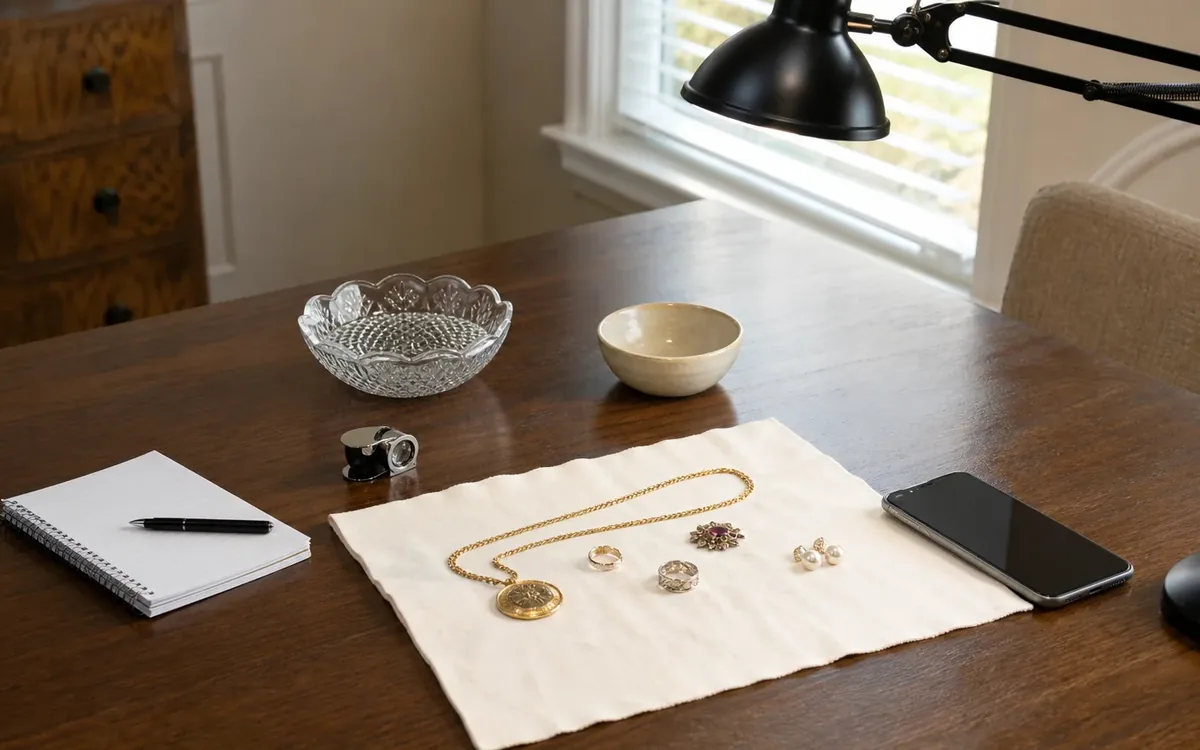
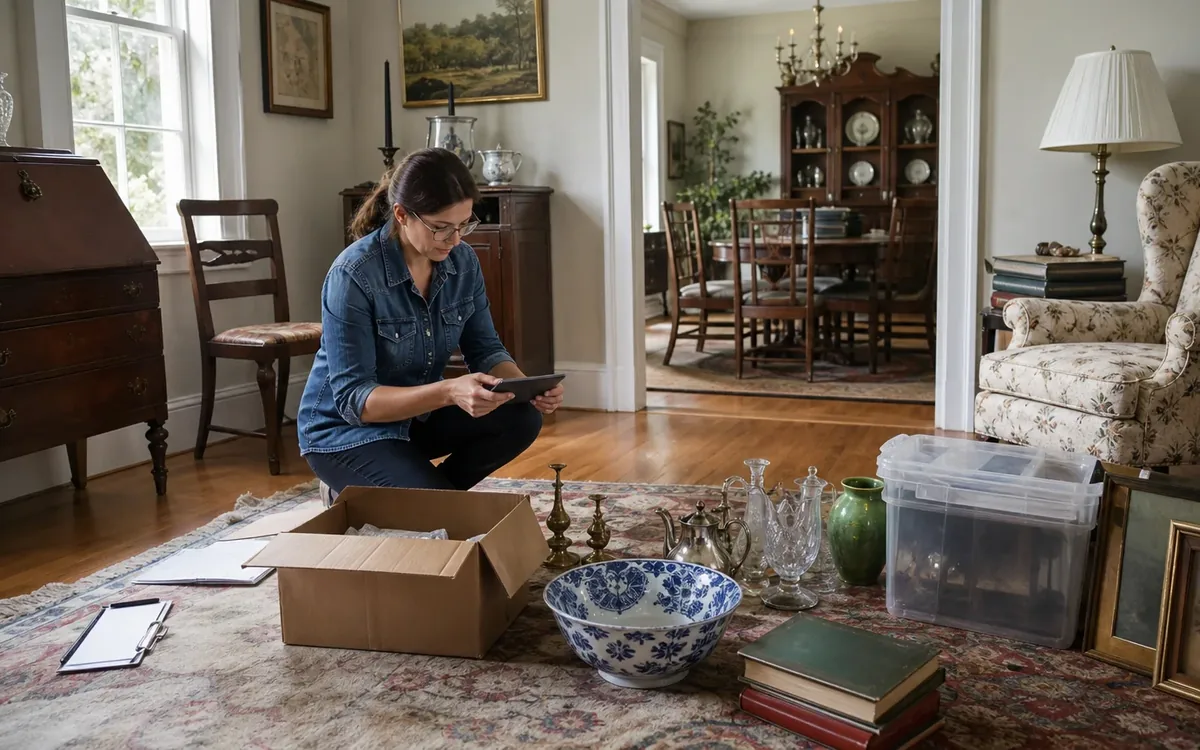
Estate auction listing photos should be created only after each item or lot receives a unique identifier, a basic condition review, and a defined set of required views. For Charleston-area and South Carolina households, the most reliable workflow is to inventory first, photograph second, match files immediately, and preserve supporting documents separately. This reduces switched descriptions, missing accessories, unclear condition notes, and repeated handling.
Quick answer: Assign a lot ID, group every included component, record visible identifying details, photograph the item from consistent angles, document flaws without minimizing them, and rename or upload the files before moving to the next lot. The household can decide what may be sold and share known history. An auction professional determines listing strategy and sale terms, while attorneys, appraisers, inspectors, real-estate professionals, and public authorities handle decisions within their respective roles.
Why should documentation come before polished photos?
A beautiful photograph does not help if it is attached to the wrong description. Estate contents often include similar furniture, repeated sets of china, multiple pieces by the same maker, loose accessories, and boxes whose contents can be separated accidentally.
Documentation establishes identity before presentation. It answers practical questions such as:
- Which objects belong together?
- Is the cord, key, remote, stand, or case included?
- What maker marks and model numbers are visible?
- Which defects were visible during photography?
- Where is the lot stored after the images are taken?
- Has the family approved the item for potential sale?
Start with a simple record for every proposed item or lot. A spreadsheet, auction platform, or carefully maintained paper log may work. The important point is to use one source of truth rather than keeping critical details in text messages, handwritten scraps, and unrelated camera folders.
Households considering professional sale support can review the statewide auctions and estate sales service to understand the general scope before discussing a particular property or collection.

Step 1: Separate authorization from identification
The first decision is not how to photograph an object. It is whether the object is authorized for evaluation or sale.
Create distinct holding areas or labels for:
- Approved for auction review
- Family decision pending
- Specifically retained
- Personal papers and photographs
- Potentially hazardous or regulated material
- Property believed to belong to someone else
- Items requiring professional advice
The household, estate representative, or other properly authorized decision-maker should identify what can move forward. A cleanout, move, or auction team may discuss organization, handling order, lot groupings, and the information needed for a sale. It should not decide who owns disputed property or interpret a will, trust, court order, creditor claim, or fiduciary duty.
Questions about legal authority, title, beneficiary rights, required notices, or permitted disposition belong with a qualified South Carolina attorney, personal representative, court, or other responsible authority. Keep pending objects out of the photography queue until authorization is clear.
This separation also prevents sentimental decisions from being made under photography pressure. Families can place uncertain items on hold without forcing an immediate keep-or-sell answer.
Step 2: Assign an ID and build the item record
Give each item or grouped lot a unique ID before taking its listing photographs. Avoid identifiers based only on room names, since rooms change as work progresses. A basic sequence such as SC-001, SC-002, and SC-003 is easier to track.
The record can include:
- Lot or item ID
- Short working name
- Quantity
- Included components
- Visible maker or brand
- Model, pattern, or serial number, if present
- Measurements, with the method noted
- Material or color as observed
- Visible condition notes
- Known history supplied by the household
- Current storage location
- Authorization status
- Photograph status
- Supporting document status
Use careful language. “Wood table” is an observation. “Eighteenth-century mahogany table” may be a specialist conclusion. Do not turn family recollection into a verified fact unless the relevant professional confirms it.
If a home is also being emptied, inventory control should stay separate from disposal decisions. The guide on the best way to clean out an estate explains why sorting, authority, and document protection should occur before broad removal.
How should items be grouped into auction lots?
Group objects according to buyer usefulness, completeness, condition, and efficient handling, not simply because they were found in one drawer. The final lot structure should be discussed with the auction professional because the market, platform, and sale format can affect whether objects are offered alone or together.
Possible groupings include:
- A device with its charger, remote, manual, and case
- A matched set with a clearly recorded piece count
- A table with its removable leaves and pads
- Artwork with documentation stored in a separate protective file
- A tool with fitted accessories
- A service of dinnerware with chips and missing pieces counted
Do not combine objects merely to clear space. A mixed box can obscure a notable item, make condition difficult to communicate, and create confusion about what the buyer receives.
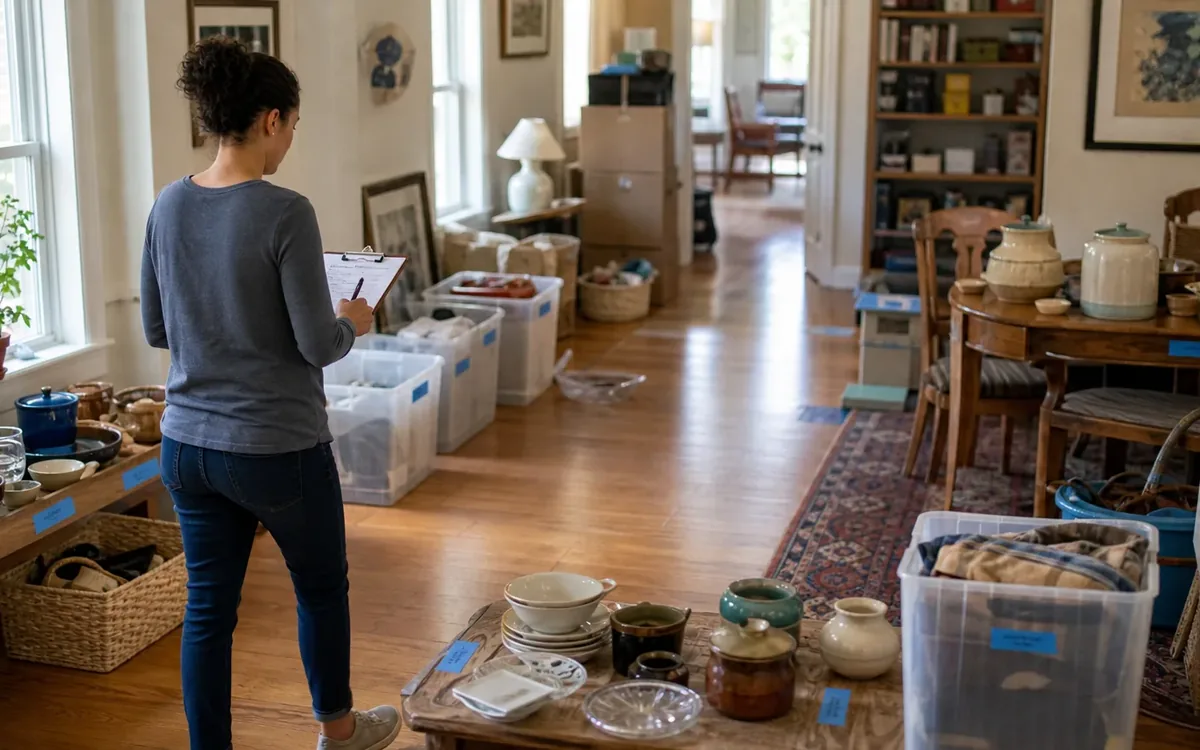
Before photographing a grouped lot, place every included component together and create a quick contents image. If components must be stored separately, record each location. Use a bag, tag, or container bearing the same lot ID for small accessories.
An auction professional may recommend splitting or combining proposed lots and can explain the listing format. A qualified appraiser determines an appraisal conclusion when one is needed. Auction estimates, appraisals, insurance values, tax values, and real-estate values are not interchangeable.
Step 3: Set up a repeatable photo station
Consistency makes a catalog easier to review and helps prevent accidental omissions. Select an uncluttered area with enough room to move safely around the item. For large furniture, it may be more practical to clear the immediate surroundings than to relocate the piece.
A simple setup may use:
- A neutral, clean background
- Even natural or artificial light
- A stable phone or camera
- A tripod when available
- A measuring tape or ruler
- Removable lot labels placed beside, not on, sensitive surfaces
- Clean gloves only when appropriate for the material
- A soft cloth used only when safe
- A written shot sequence
Avoid aggressive cleaning before photography. Polishing metal, washing textiles, oiling wood, removing labels, or testing chemicals may alter a surface or damage an item. Ask the auction professional or a relevant conservator before treating potentially significant objects.
Check reflections and backgrounds before each shot. Mirrors, glass, polished silver, and glossy screens can reveal people, paperwork, family photographs, alarm panels, or room details. Remove private material rather than relying on later cropping.
Photographs should represent the object accurately. Avoid heavy filters, extreme wide-angle distortion, or edits that conceal wear. Basic rotation, exposure correction, and cropping may improve clarity, but the item should still look like itself.
Step 4: Follow a standard shot sequence
Use the same sequence for each lot whenever practical. A repeatable order makes missing views easier to notice during quality control.
A useful sequence is:
- Lot ID card beside the item for internal matching
- Main three-quarter view
- Front view
- Back view
- Both side views, when relevant
- Top and underside views, when safe
- Maker marks, labels, signatures, or model plates
- Construction or material details
- Accessories and included components
- Every visible flaw or area of wear
- Scale or measurement view, if useful
- Final contents view for grouped lots
The ID card photograph does not necessarily need to appear in the public listing. Its purpose is to create a visual boundary between lots and provide a recovery point if files are imported out of order.
Photograph inscriptions exactly as they appear. Do not state that a signature is authentic simply because a name is visible. For serial numbers or personal identifiers, ask the auction professional what should appear publicly and what should remain in the internal record.
For furniture, capture legs, feet, joints, hardware, drawer interiors, backs, and damaged veneer. For ceramics and glass, photograph bases, marks, rims, repairs, chips, and cloudiness. For electronics, record labels and included accessories, but do not claim working condition unless an appropriate test has been performed and documented.
What condition details should listing photos show?
Show defects that could affect a buyer’s understanding of condition or completeness. Clear flaw images support an accurate listing and reduce reliance on vague phrases such as “age appropriate wear.”
Document visible examples such as:
- Scratches, dents, chips, cracks, and losses
- Stains, fading, discoloration, and water marks
- Loose joints or missing hardware
- Repairs, patches, touch-ups, or replaced parts
- Rust, corrosion, tarnish, or pitting
- Tears, pulls, fraying, or moth damage
- Cloudiness, crazing, or glaze wear
- Missing cords, keys, remotes, lids, or accessories
- Odors reported by the household, with neutral wording
- Signs that testing was not completed
Take both context and close-up photographs. A tight image shows detail, while a wider image shows where the flaw appears on the object. Give flaw files the same lot ID and note the defect in the written record.
A practical team can help make visible condition documentation consistent and flag an object for specialist review. It should not provide an expert attribution, certify authenticity, issue a formal condition report outside its competence, or guarantee future operation.
Concerns involving mold, pests, structural instability, lead, asbestos, chemicals, firearms, controlled materials, or other regulated items require appropriate professionals or authorities. Do not handle or stage a suspected hazard merely to obtain a better image.
Step 5: Match, rename, and back up files immediately
The safest time to match images is while the item remains in front of the camera. Waiting until hundreds of files accumulate invites errors.
A filename system could look like:
- SC-014-01-main
- SC-014-02-back
- SC-014-03-mark
- SC-014-04-flaw-left-corner
- SC-014-05-accessories
If the auction platform controls filenames, upload one completed lot at a time and verify the thumbnails before proceeding. Keep original files when possible rather than retaining only compressed listing versions.
Use at least two storage locations during an extended project. One might be the working device or computer, and another might be an approved external drive or secure cloud location. Access should be limited to authorized participants, especially when records include addresses, family documents, keys, signatures, or serial numbers.
At the end of each session, reconcile three counts:
- Number of authorized lots photographed
- Number of item records marked complete
- Number of photo sets present in storage
Any mismatch should be resolved before objects are moved, boxed, or removed from the room.
Step 6: Run a listing quality-control pass
Quality control should compare the physical lot, written record, and image set. It is not merely a review for attractive photographs.
For each lot, confirm:
- The item ID matches every file and tag
- Quantity and included pieces agree
- Measurements use consistent units
- Marks and model information are readable
- Visible flaws appear in photos and notes
- No retained object entered the image set
- No private document is visible
- Claims are supported or clearly attributed
- The storage location is current
- The listing follows the auction professional’s requirements
A second reviewer can catch switched accessories, inconsistent counts, and unsupported descriptive language. If the physical object no longer matches the record, pause publication until the discrepancy is resolved.
The auction professional controls platform-specific catalog requirements, bidding terms, reserves, pickup instructions, payment rules, and other sale procedures. The responsible legal or compliance professional determines obligations that require legal interpretation. A real-estate professional addresses property marketing, while qualified inspectors assess building systems or conditions within their scope.
Charleston-area logistics without assuming local rules
In a Charleston-area home, practical planning may involve occupied rooms, narrow work zones, shared family access, or a property being prepared for sale. Those are workflow issues, not grounds for assuming a city-specific legal rule.
The household can decide when authorized participants may enter, which rooms are available, what must remain private, and which items need further family review. A cleanout or move team may discuss staging areas, labeling, packing sequence, removal coordination, and ways to prevent documented lots from being mixed with donations or discards.
Property access requirements, association rules, parking restrictions, waste requirements, sale permits, tax questions, and regulated-item procedures should be confirmed with the relevant owner, association, municipality, tax professional, attorney, auction professional, or public authority. Requirements may differ across South Carolina, so avoid treating a practice used at one property as a statewide rule.
Short FAQ
Should every object receive its own listing?
No. Common or related objects may work better as a grouped lot, but the auction professional should advise on the final structure. Every proposed lot still needs one ID, an exact component count, and a matching photo set.
Can family history be included?
Yes, if it is clearly presented as family-supplied history rather than verified provenance. Preserve letters, receipts, and prior appraisals, but ask the appropriate professional what supports a public claim.
Should items be repaired before photography?
Not automatically. Repairs and cleaning can change condition or cause damage. Record the current state first, then seek guidance from the auction professional, conservator, or relevant specialist.
Who decides whether an item is authentic or valuable?
A qualified appraiser or subject-matter specialist provides conclusions within their scope. A practical team can record visible marks and organize supporting material, but should not convert observations into unsupported authentication or valuation claims.
What happens after the photo workflow is complete?
Lock the catalog record, store lots by ID, keep retained property separate, and follow the auction professional’s listing and sale process. Coordinate cleanout or home preparation only after sold, unsold, donated, retained, and pending items have distinct statuses.
The next practical step
Before taking the first catalog image, choose one room or category as a pilot. Create IDs, build records, photograph five to ten proposed lots, rename the files, and run the quality-control check. Adjust the workflow before scaling it to the rest of the estate.
Clutter Cleaner of South Carolina can discuss practical organization around estate cleanouts, downsizing, auctions and estate sales, move management, and home sale preparation across South Carolina. For a Charleston-area or statewide conversation, call (843) 972-7020. Questions requiring legal interpretation, appraisal conclusions, real-estate advice, property inspection, or official compliance decisions should remain with the appropriate qualified professional or authority.