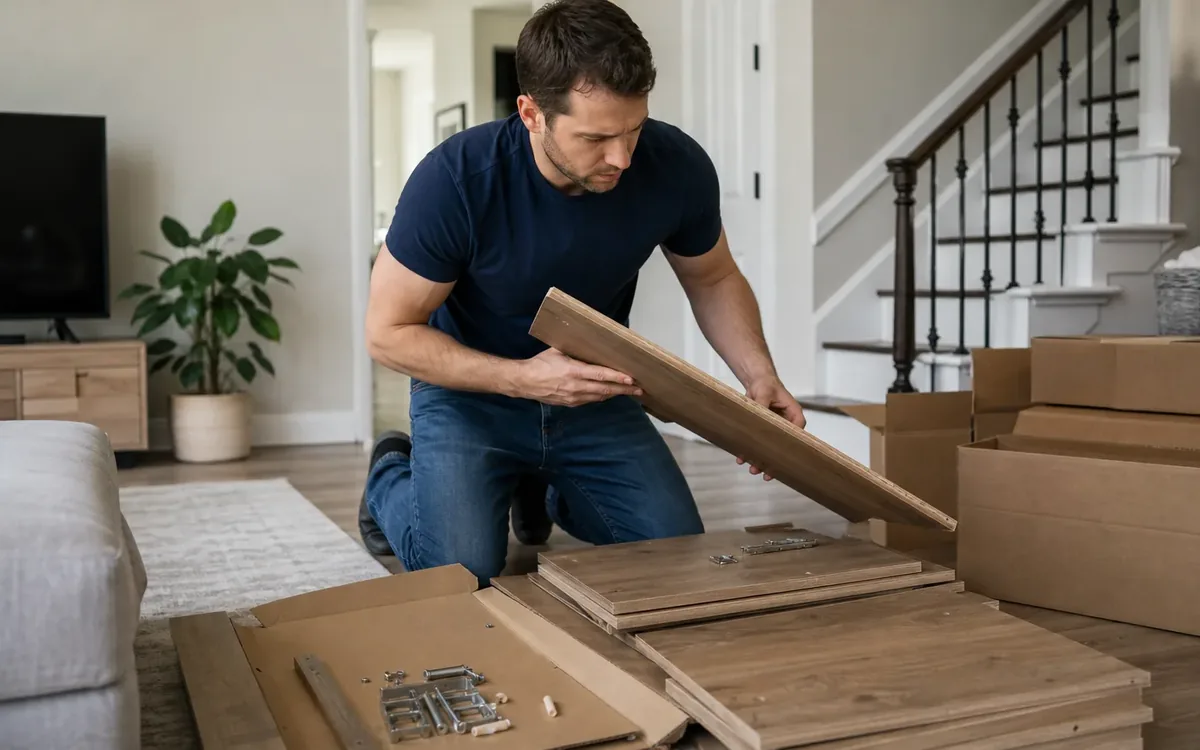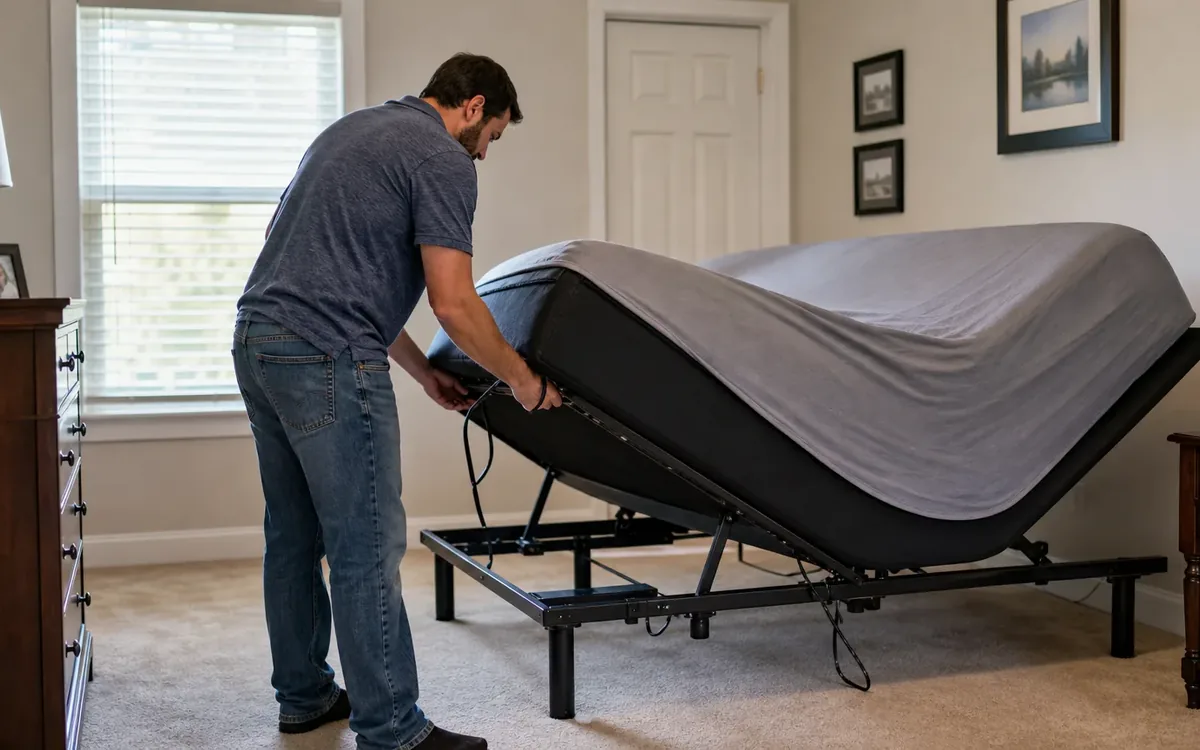
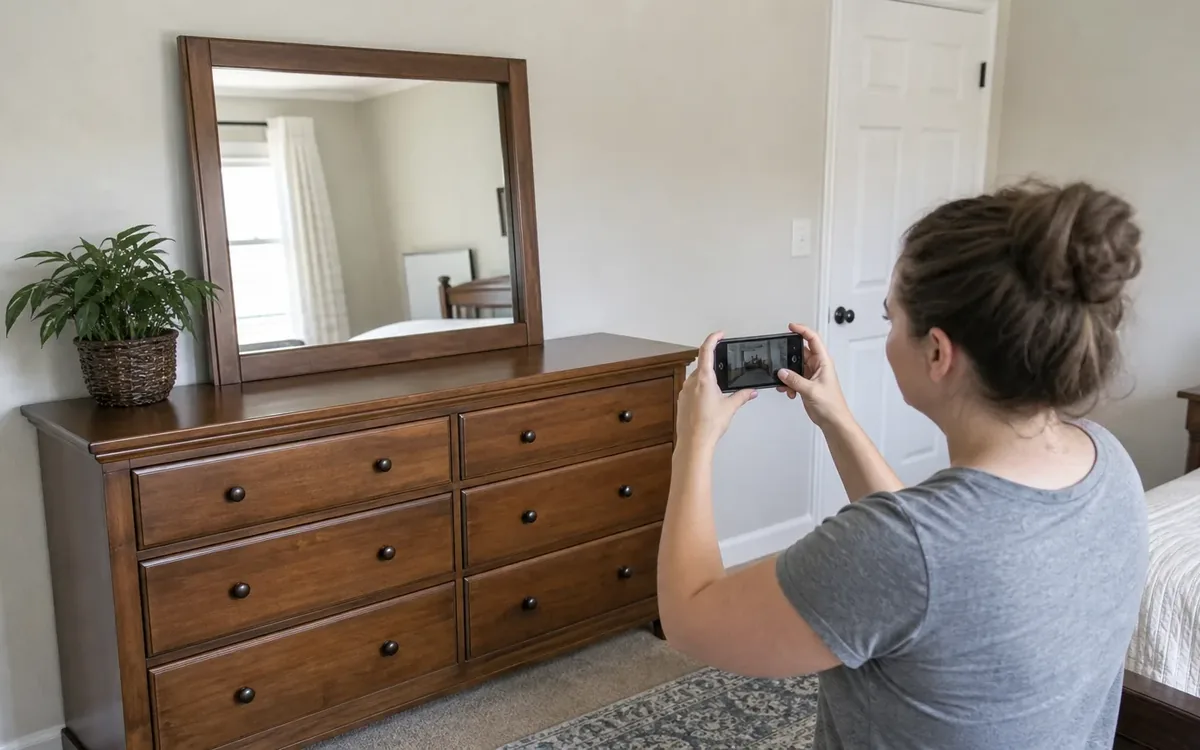
Document assembled furniture before a move by photographing every side, recording shelf and hardware positions, labeling connected parts, and drawing a simple orientation diagram. This creates a practical reference for disassembly and reassembly, especially when a move involves a South Carolina condo, senior community, elevator, narrow doorway, or room with limited setup space.
Quick answer: Create one record for each furniture item. Give it a unique name, take wide and close-up photos, measure key clearances, mark removable parts, trace cable routes, and place labeled hardware in a sealed bag. Photograph that bag beside the item label. Keep the record available to the household and anyone responsible for moving or reassembly.
Why document furniture while it is still assembled?
A finished piece shows relationships that become difficult to reconstruct after its shelves, doors, legs, brackets, or electronics have been removed. A set of loose parts does not reveal which side faced the wall, which shelf occupied the center position, or whether a cable passed behind a support.
Documentation also helps separate decisions that should not be made during unloading. The household can decide where an item belongs and whether its current configuration should be preserved. A practical move team may discuss safe handling, labeling, disassembly needs, and placement constraints. A building manager, contractor, installer, inspector, appraiser, or other qualified professional must address matters within that person’s responsibility.
Clutter Cleaner of South Carolina provides move management services across South Carolina. Whether the household coordinates the work independently or with help, the same documentation principles can reduce guesswork.
A useful record should answer these questions:
- What does the fully assembled item look like?
- Which side is the front, back, left, and right?
- Where do adjustable shelves and removable pieces belong?
- Which fastener or bracket connects each section?
- How are cables routed and connected?
- What must be removed to pass through the planned route?
- Where should the item face in the destination room?
What should you photograph before disassembly?
Start with context, then move toward detail. Close-ups without a wide view can be hard to interpret later because they do not show where the photographed feature sits on the furniture.
Capture these seven views for each item:
- Full front view: Include the entire item, with doors and drawers closed.
- Full rear view: Show backing panels, wall anchors, cable openings, and attached supports.
- Both side views: Record overhangs, hinges, trim, handles, and the item’s depth.
- Open compartments: Photograph drawers, doors, cabinets, and interior dividers in their normal positions.
- Connection points: Capture brackets, cam locks, bolts, clips, dowels, and seams between sections.
- Existing condition: Record scratches, loose trim, cracked panels, stains, or other visible wear before handling.
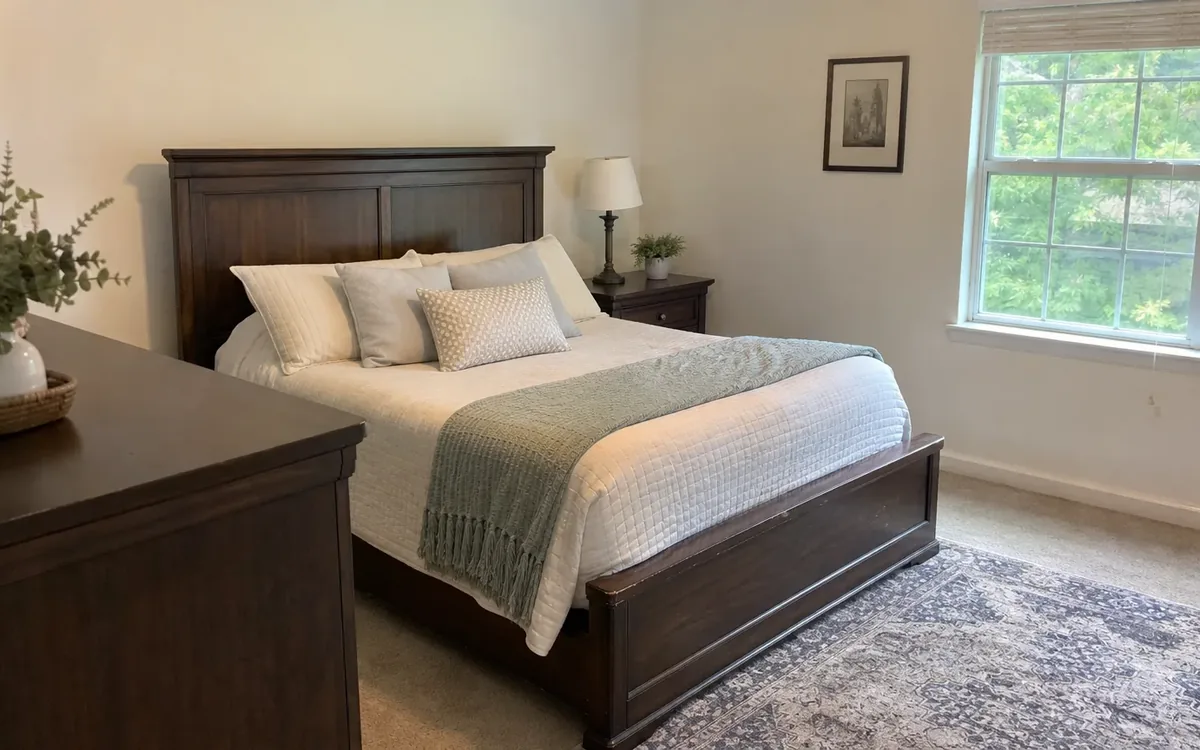
- Room context: Show where the item sits, which wall it faces, and how it relates to nearby doors or outlets.
Take a wide photograph before every close-up sequence. If you photograph the upper-left hinge, for example, first take a medium view that shows the whole door and then a close image of the hinge. This visual progression makes the detail easier to locate.
Use consistent item names such as Primary Bedroom Dresser A or Living Room Media Unit B. Avoid vague labels such as cabinet when several cabinets are moving.
If furniture documentation is part of clearing a larger household, the guide on how estate cleanouts work explains how sorting and property decisions can fit into a broader process.
How do you record shelf and drawer positions?
Adjustable shelves are easy to remove and surprisingly easy to reinstall in the wrong holes. Record their positions before removing shelf pins.
Place a removable label on each shelf, starting at the top. Use names such as Shelf 1, Shelf 2, and Shelf 3. Then photograph each label while the shelf remains installed. For peg-hole systems, count from one fixed reference point, such as the lowest hole, and write that position in the item’s notes.
Record more than height when shelf orientation matters. Note whether:
- A finished edge faces forward
- A cable notch faces the rear
- The shelf has a top and bottom surface
- Supports differ between the left and right sides
- Glass shelves use pads, clips, or locking hardware
- A center support sits beneath a particular shelf
For drawers, label the opening and the drawer with the same identifier. A dresser might use A1 for the top-left drawer and A2 for the top-right drawer. Photograph specialized slides, stops, or release tabs before removing the drawer.
Do not force a drawer, shelf, or fitting that does not release normally. The furniture maker’s instructions or an appropriate furniture professional should guide unfamiliar mechanisms.
How should cables and electronic connections be documented?
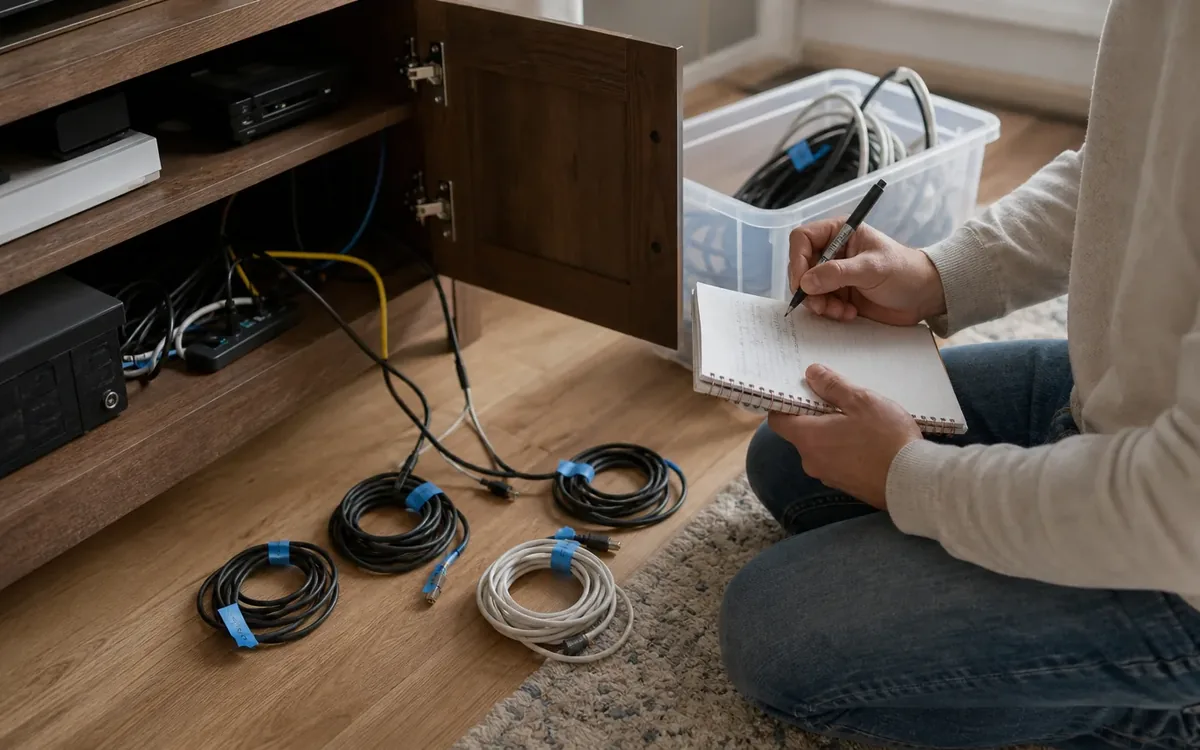
Furniture with televisions, lamps, adjustable bases, charging equipment, speakers, or powered components needs a separate cable record. The goal is to show both endpoints and the route between them.
Use four steps:
- Photograph the complete setup: Include the furniture, devices, outlet area, and visible cable path.
- Label both ends: Give each cable a matching identifier at the device end and destination end.
- Capture every connection: Take a clear image before unplugging anything, including ports, adapters, and power strips.
- Draw the route: Mark where the cable passes through openings, behind panels, beneath shelves, or around moving parts.
A label such as TV HDMI 1 to Media Box HDMI Out is more useful than black cord. If ports are color-coded or numbered, include those details in the photo and written notes.
Avoid bundling all cords into one unmarked container. Place detachable cables in a labeled bag or box associated with the correct furniture item or device.
The household can decide which electronics will move and where they should be placed. A move team may discuss labeling and handling. Installation, electrical modifications, wall mounting, network configuration, and equipment repair should remain with qualified providers selected by the household. Building rules may also control where drilling, wiring, or mounting is allowed.
What belongs in an orientation diagram?
A diagram does not need artistic detail. It needs fixed reference points. Draw the furniture as a rectangle viewed from above, then mark the front, back, left, and right sides.
Add the following details when relevant:
- Door and drawer opening directions
- Finished and unfinished sides
- Wall-facing edge
- Cable access holes
- Removable legs or feet
- Attached return on an L-shaped desk
- Headboard and footboard positions
- Mirror or hutch placement
- Alignment between modular sections
- Destination wall or room direction
For a sectional, number each module from left to right as seen from the front. Draw connector locations and indicate which piece begins the arrangement. For a bed frame, identify each rail, its top edge, and its headboard or footboard end.
Photograph the completed sketch beside the item label. Keep a digital copy with the furniture photographs so the diagram does not depend on a loose sheet of paper surviving the move.
Build one reliable record for each furniture item
Scattered photographs are less useful than a consistent item file. Create a digital folder for each piece and use the same naming structure throughout the home.
A practical file might include:
- Item name and current room
- Destination room, if decided
- Overall dimensions
- Largest removable section dimensions
- Front, back, side, interior, and detail photographs
- Shelf and drawer map
- Cable diagram
- Hardware photograph
- Existing-condition notes
- Orientation sketch
- Special handling notes supplied by the manufacturer or relevant professional
Include the item’s width, depth, and height, but do not treat measurements as proof that an item can safely pass through a route. Door hardware, trim, turns, ceiling fixtures, railings, elevators, and permitted loading access can affect the plan.
Keep the original image files. Messaging apps and social platforms may reduce image detail. Back up the record somewhere accessible after packing, rather than storing the only copy on a device packed into a box.
Label hardware without losing its assembly order
Hardware documentation should preserve both identity and sequence. Before removing a fastener, photograph its location. After removal, place it in a sealed bag marked with the furniture item and component.
Use separate inner bags when different fasteners look similar. For example:
Desk A, left return boltsDesk A, modesty panel screwsBed B, headboard bracketsBookcase C, shelf pins
Place small brackets or unusual fittings on plain paper and photograph them from above before bagging. Add a note showing quantity and installation location. Keep protective caps, washers, and spacers with their matching fasteners.
For complicated assemblies, number the disassembly stages. Photograph the item before Step 1, after Step 1, and after Step 2. Reassembly can then follow the images in reverse, subject to manufacturer instructions and safe installation practices.
Do not tape hardware directly to finished wood, veneer, leather, fabric, or painted surfaces. Adhesive can damage finishes, and a heavy bag may scratch the item in transit.
Plan for condos, senior communities, and tighter access
Moving into a South Carolina condo, senior community, or smaller home can involve access considerations that are separate from furniture assembly. Good documentation helps the household compare the item with the destination, but the responsible property representative determines building requirements.
Before finalizing the move plan, the household can ask management or the appropriate contact about:
- Elevator reservations or restrictions
- Loading and parking procedures
- Protected entryways and common areas
- Allowed access points
- Contractor or vendor requirements
- Wall-mounting and alteration rules
- Disposal rules for unwanted furniture or packing material n The household may measure doors, hallways, turns, stairs, and elevator interiors. A practical move team may discuss whether removable parts could simplify handling. However, safe rigging methods, structural changes, railing removal, electrical work, and building alterations belong to properly qualified providers and building authorities.
Never assume a piece will fit because its width is smaller than the doorway. Consider depth, diagonal movement, protruding trim, fixed handles, and the space required to turn. Document the proposed orientation at each tight point and compare it with the assembled and disassembled dimensions.
If access is uncertain, avoid destructive changes based only on photographs. A contractor or other appropriate specialist should evaluate modifications. Management or the responsible authority should confirm compliance with property rules.
Decide what stays assembled and what comes apart
Not every item should be disassembled. Some furniture is designed for repeated assembly, while other pieces may weaken, chip, or lose alignment when taken apart.
The household can decide whether an item is worth moving, whether its destination is suitable, and whether storage is an alternative. A move team may discuss handling constraints and whether obvious removable elements, such as shelves or legs, affect access.
Questions about construction, repair, antiques, specialty mechanisms, or safe disassembly should go to the manufacturer or a qualified furniture professional. An appraiser determines value when a formal valuation is needed. A contractor addresses alterations. A real-estate professional advises on property presentation and transactions. Inspectors and authorities handle matters within their jurisdiction.
If furniture will not move directly to the next home, storage is a separate household choice. The household should evaluate the storage provider’s terms, access, environment, insurance requirements, and suitability for the material involved.
Likewise, disposal and donation are separate decisions. Confirm acceptance rules with the selected recipient or disposal provider before moving the item. Documentation can help describe condition, but it does not guarantee acceptance or establish value.
Use the record during setup, not just packing
Make the documentation available before the furniture enters the destination room. The placement lead or responsible household member should be able to see the item name, diagram, and intended orientation without opening unrelated boxes.
Use the record to verify:
- The correct sections reached the correct room
- Finished sides face the intended direction
- Shelves return to their recorded positions
- Drawers match their original openings
- Hardware is associated with the correct piece
- Cables follow the planned route without being pinched
- Existing wear is not confused with new damage
Do not treat the photographs as a substitute for manufacturer instructions. Follow applicable assembly guidance and have wall anchors, powered components, or unfamiliar mechanisms addressed by an appropriate professional.
After setup, take one final photograph of the assembled item. This confirms its new configuration and creates a starting point for future changes or another move.
Short FAQ
Should every piece of furniture have its own folder?
Yes, when it has removable parts, adjustable shelves, hardware, cables, or a required orientation. Simple items can still benefit from a front view, condition photos, dimensions, and a clear label.
Is video better than still photography?
Video can provide context, but still photographs make individual connections and labels easier to inspect. Use both for complex pieces, while ensuring the essential details are available in clear photos and written notes.
Who decides whether furniture can fit through a building?
The household can collect measurements and compare options. A move team may discuss handling and removable components. Property management controls building access requirements, while qualified contractors or other responsible professionals should evaluate alterations, technical methods, and specialized risks.
Should furniture be appraised before moving?
That is the household’s choice. If value must be formally established for insurance, sale, estate, tax, or legal purposes, use an appropriate appraiser or adviser. A photo inventory records appearance and configuration but is not an appraisal.
What if the item has no assembly instructions?
Document it thoroughly before changing anything. Look for manufacturer information and consult a qualified furniture professional when construction or release mechanisms are unclear. Avoid forcing joints or fittings.
Where is Clutter Cleaner of South Carolina located?
The physical business location is Mount Pleasant, South Carolina. Charleston is the primary market, and the verified service territory covers South Carolina. Households can call (843) 972-7020 to discuss move management needs.