How to get your house ready for listing photos?
Start by clearing each surface the camera will see. Check counters, floors, and shelves. Open the curtains and let in natural light. Put away personal items. Keep each room simple so the space, rather than the things in it, stays at the heart of the photo. For the related service scope and planning steps, review our home sale preparation support and pre-listing preparation checklist.
Work room by room with the camera in mind
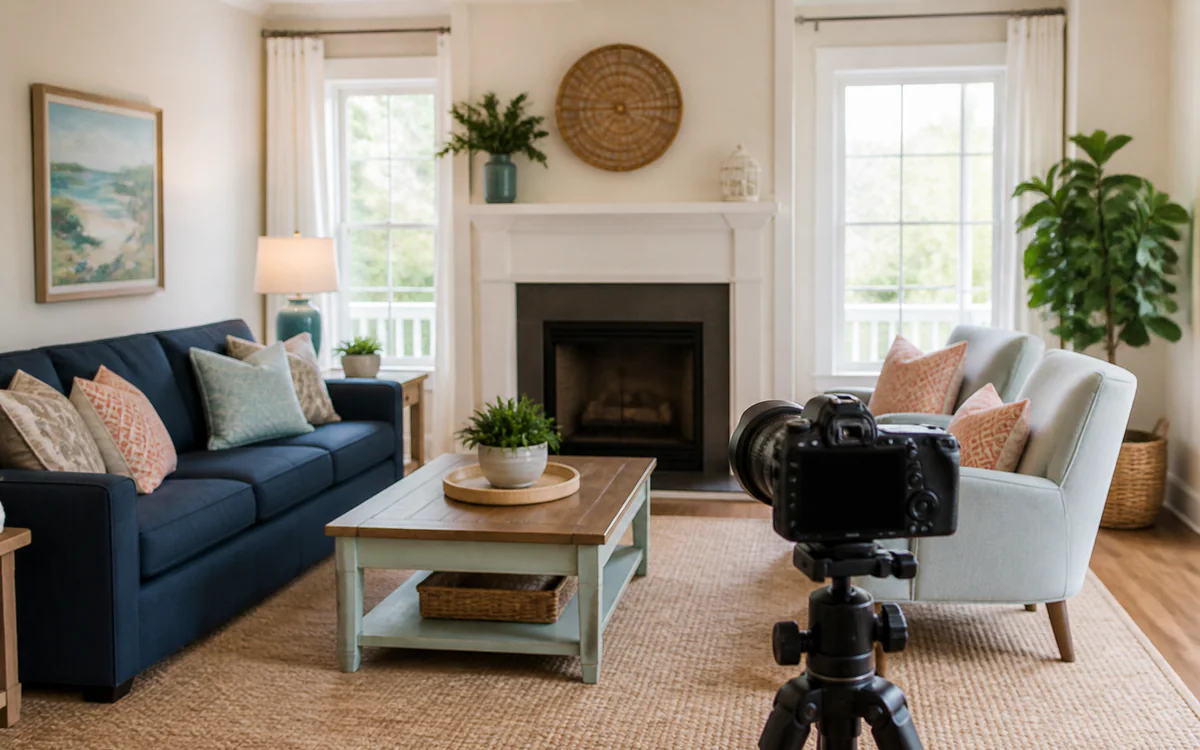
Stand in each doorway and look at the room as a camera would. A stack on a counter will stand out in a photo. So will a pile on the floor or a crowded shelf. You may walk past those things each day without seeing them. Remove a few extra items first. That often helps more than moving the furniture.
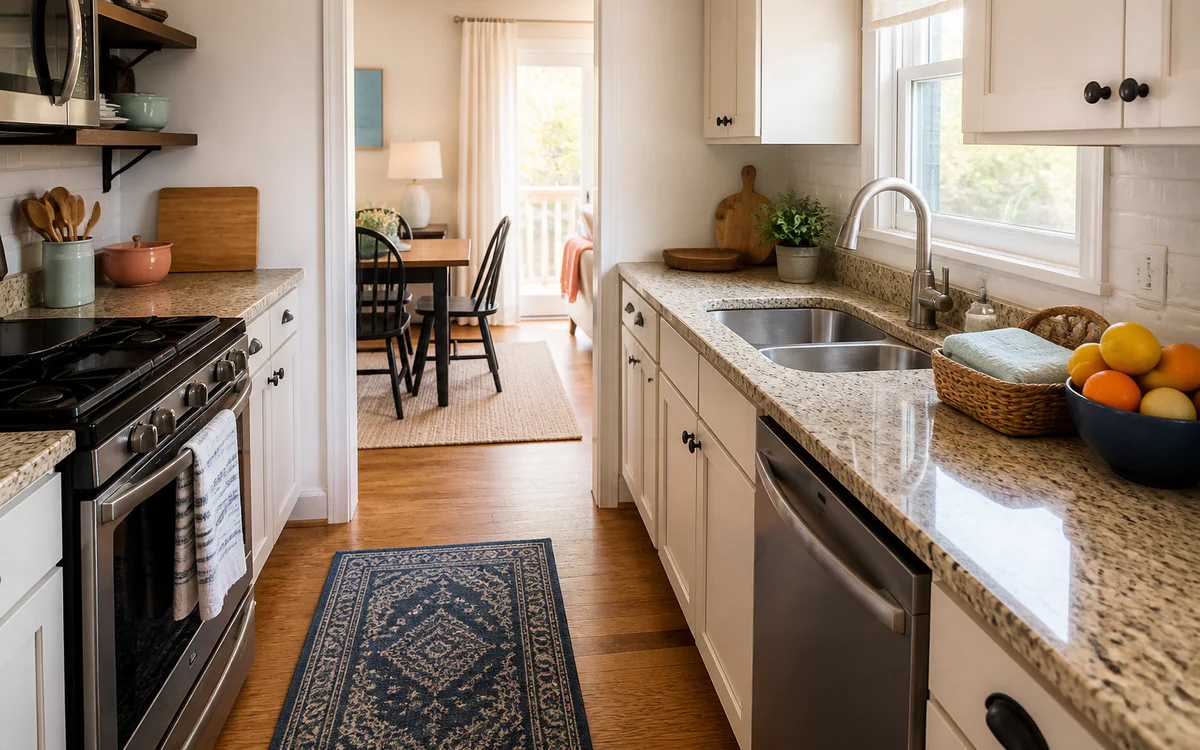
Bathrooms and kitchens often need the most work. Toiletries, dish racks, and small tools can fill an open surface fast. Make each bed before the photo session. Clear the nightstands too. If a closet door may be open, make sure the closet does not look full or messy.
Let light and space do the work
Open the blinds and turn on the lights before the photos begin. Bright rooms tend to look larger and more warm than dark rooms. Use our decluttering planner to plan the work room by room. It can help you catch small tasks before the photo date.
Time natural light in your favor
South Carolina homes can get strong, warm light late in the day. The light may be soft and cool in the morning. Test each key room at two times before the photo session. A room that looks dark at noon may look much better after the sun moves past the windows.
Phone cameras and pro cameras can make clutter stand out. A photo turns the room into one flat frame. Each item then fights for the viewer’s eye. That is why a lived-in home can look busy in a photo, even when it feels neat in person. Walk through once more with the lens in mind. This last pass often catches details that a basic cleaning missed.
How to prep your house for listing photos?
Remove enough furniture and belongings to make each room feel open. Leave enough in place to show how the room works. Move anything that blocks a path or a window. Clear each surface so the viewer sees the room first, not a stack of things. Related South Carolina planning tools include our home sale preparation support and pre-listing preparation checklist.
Deciding what furniture should stay
A room with too much furniture can look cramped in a photo. It may still feel fine in daily life. Try moving one extra chair, side table, or large piece out of the room. Start with anything that blocks a natural path. The room should still look useful and lived in. It just needs less stuff taking up the frame.
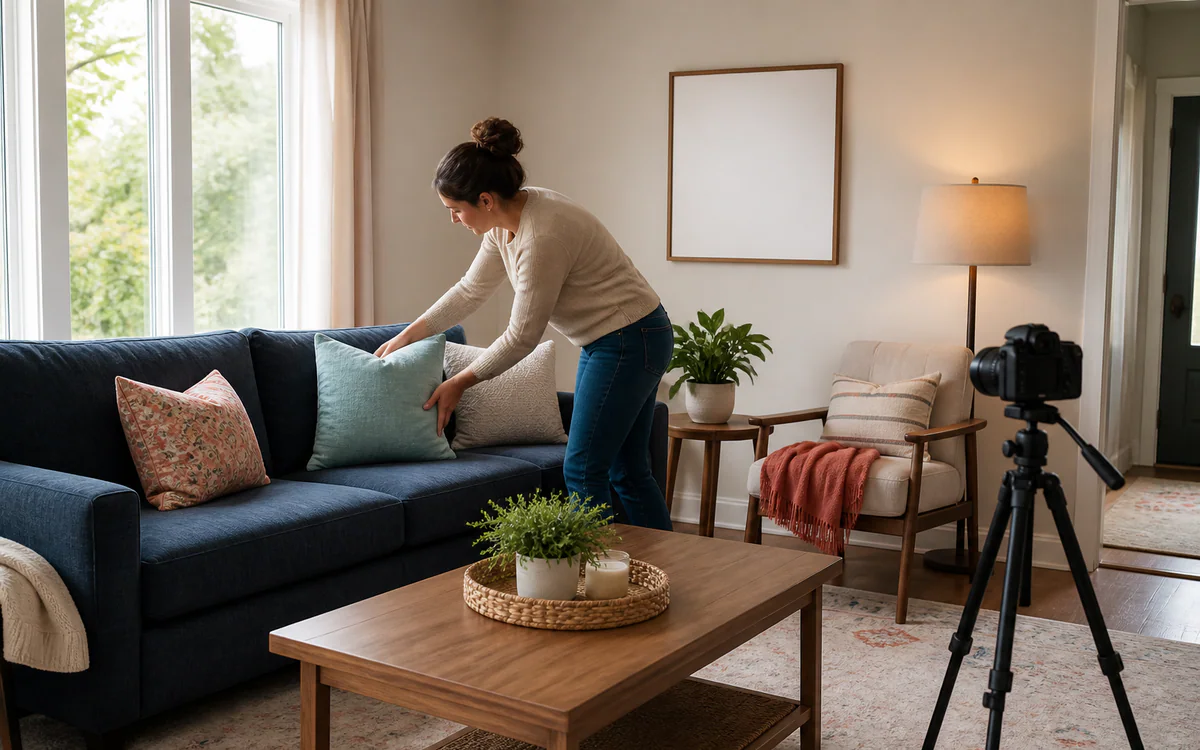
Small staging touches matter too. One plant or a folded throw can add warmth without adding mess. A short stack of books can work as well. Store family photos and large collections before the camera arrives. Buyers need to look at the room, rather than the life of the person who lives there.
Handle the details that are easy to miss
Cords, trash cans, pet bowls, and mail are easy to miss during a cleanout. They can stand out in a wide photo. Take one last walk through the home before the camera arrives. Look for one small detail in each room. This quick check can catch what a long cleaning session missed.
Save the busiest rooms for last
Home offices, playrooms, and garages often hold the most daily clutter. Start those rooms early in the week. Do not leave them for the night before the photos. Extra time for the busiest room keeps one hard task from putting the whole plan at risk.
Where the furniture sits can matter as much as how much stays. Turn a sofa a bit away from the wall. Shift a table to make a clear path. These small moves can make the same room look less full in a wide shot. They are often faster than taking a large piece out. You can also undo them as soon as the photo session ends.
How do I declutter my house before listing it for sale?
Sort the home by type of item rather than only by room. Group clothes, papers, and kitchen goods so you can see how much you own. Look hard at anything you have not used in the past year. It may be a good fit for a gift, storage, sale, or safe disposal before the listing goes live. To turn this answer into a practical plan, compare home sale preparation support with the pre-listing preparation checklist.
Sort by category for a clearer picture
Gather one type of item in one place. You might start with coats, mugs, or papers. The full size of the group will then be easy to see. Room-by-room work may hide extra copies. A full group makes those copies and lost items stand out. That can speed up each keep-or-go choice.
Build in time for sentimental items
Photos, heirlooms, and keepsakes need more time. Put them in a marked box for a later review. This keeps the main work moving without forcing a rushed choice. Come back when you and your family have the time to talk about what matters most.
Use the pre-listing checklist to track each group of items across the home. It can keep the work clear as the listing date gets close. The National Association of Realtors says staging can help buyers picture themselves in a home. A clean and neat room gives them the space to do that.
Give yourself a buffer before the deadline
Set your own deadline a few days before the photo date. That leaves time to catch what the first pass missed. It also helps when a hard group takes more time than planned. Papers and garage items often need that extra room in the plan.
Papers often take the most time. You must read a page before you can decide what to do with it. Set aside one afternoon for mail, files, and old forms. Keep that task apart from the rest of the sorting work. A single focus can make the pile feel less hard to face.
What not to do before selling your house?
Avoid a large and costly remodel without advice from a local pro. A high price does not mean the work will match what local buyers want. Do not skip the basic cleanout. Fix clear small faults and store large personal displays. Those steps keep the home’s shape and state at the center of each view. For additional planning context, see home sale preparation support and the pre-listing preparation checklist.
Common missteps that cost time
Do not pour all the time and money into one room while the rest stays full. That can make the home feel uneven during a tour. Bold paint and strong personal decor can also pull focus. A calmer look helps buyers see how their own things may fit.
Ignoring odors and pet-related details
You may stop noticing a strong smell in your own home. A new guest will not. Check pet areas, cooked food smells, and damp closets. Air out each room and wash the linens. Give pet spaces one last clean before photos or tours.
Small faults can leave the same bad feel as clutter. Buyers may notice a loose handle or a door that squeaks. Make a short repair list as you clear each room. Handle those quick fixes in the same block of time. This can be easier than saving them for a new project at the end.
Skipping the basics is the biggest risk
The most basic mistake is to skip the cleanout. Do not assume buyers will look past a full room. Crowded counters and packed closets hurt both photos and tours. Clear them before you make choices about paint, repairs, or a large update.
Some homes need more time or more hands than the family has. A home sale preparation plan can keep sorting and home tasks on track while the move still needs your care.
When to start preparing to sell a house?
Start at least two or three months before you hope to list. Six months gives you more room for sorting, repairs, and delays. An early start turns the work into small weekend jobs. It also helps you avoid a hard rush right before the listing date. The next steps connect to our home sale preparation support and pre-listing preparation checklist.
Give yourself a realistic runway
The AARP one-year countdown checklist breaks a year of work into small stages. The model can still help if you have less time. Start with your planned listing date and work back. Give each stage its own due date. This keeps the last week from becoming a rush through rooms that need care.
A timeline that fits real life
Jobs, school, and family plans set how much time you truly have each week. Build the plan around that real time. Do not base it on a free weekend that may never come. A plan that fits your life is much easier to finish.
A sale may happen during a job change, school year, or other big event. If so, start even sooner. Your free hours are already in short supply. Add spare days to each part of the plan. That can ease more stress than trying to pack the same work into a few long days.
Photography day comes at the end, not the beginning
Book listing photos after the cleanout, deep clean, and agreed repairs are done. A photo date that comes too soon may lead to a second shoot. It is often easier to add one or two weeks to the plan at the start.
Make one plan for the last two days
Write down who will handle each final task. One person might check the kitchen and baths. Another can make beds, hide bins, and move pet gear. Ask the real estate agent or photographer when the home must be ready. Then leave some time before that hour for a calm final walk. This plan is useful for a Charleston home as well as a property elsewhere in South Carolina. It keeps small jobs from falling on one person at the last minute.
If the work is larger than your family can manage, ask for help before the photo date is set. Clutter Cleaner can help plan and carry out sorting, room setup, and other home sale preparation within an agreed scope. The homeowner and real estate team still choose the listing price, photo plan, repairs, and sales strategy. That clear split keeps each person focused on the work they know best.
The goal is simple. Clear what pulls the eye away so each room can be seen. Set a pace that fits your home, your time, and the people who need to help.